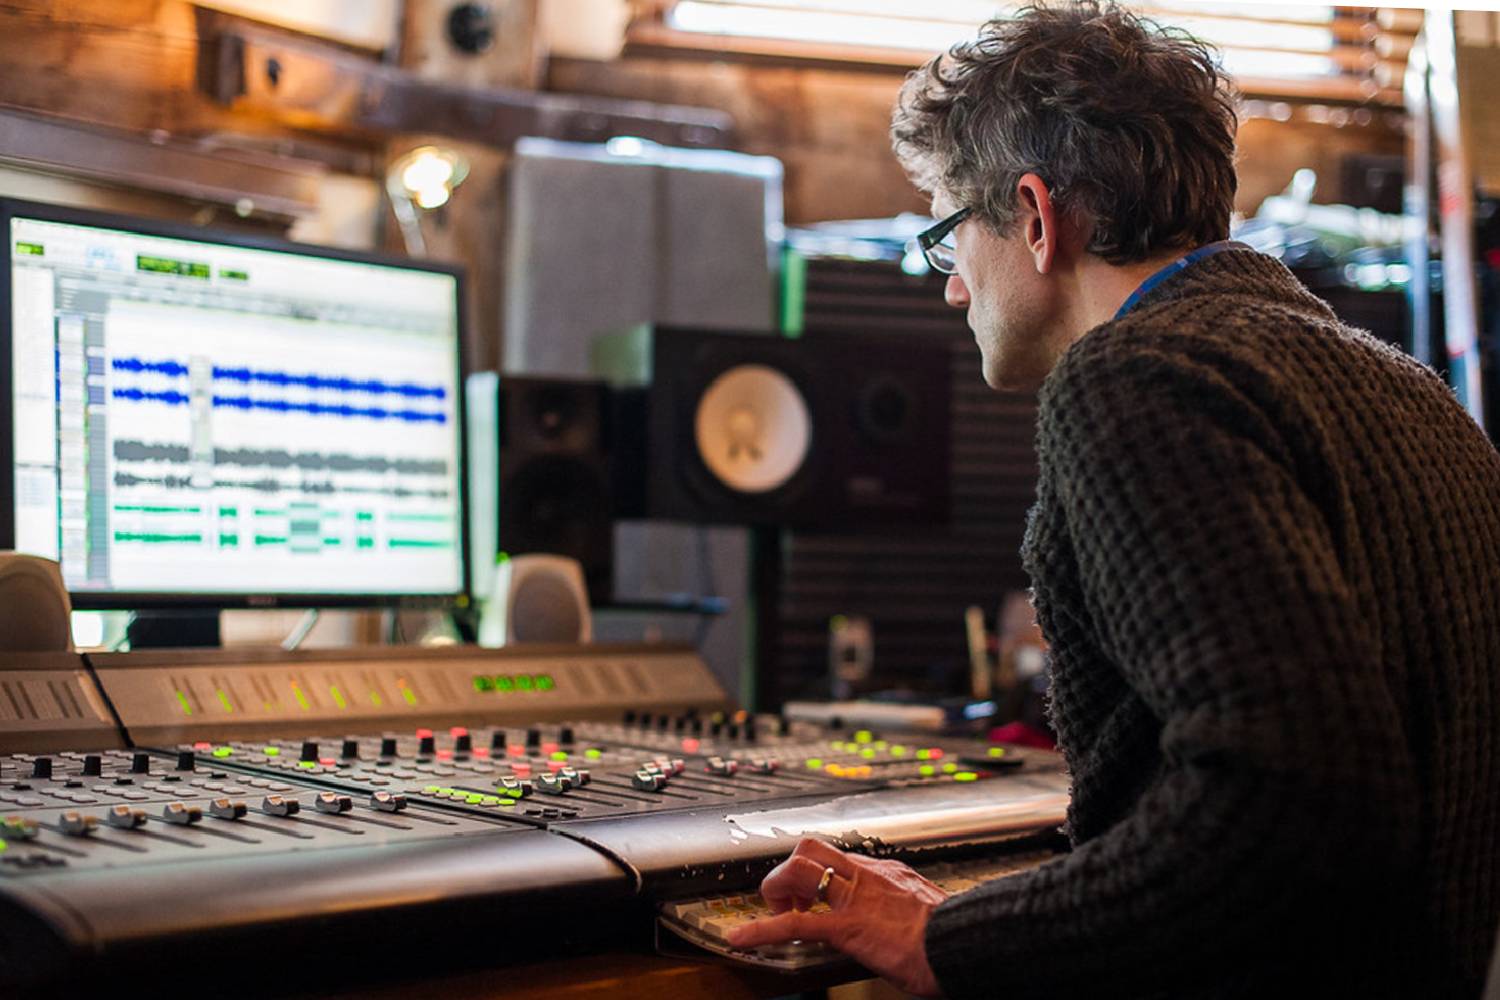
Our content editor Lewis has recently reached a bit of a milestone that a lot of us have (or maybe still are) working towards: he’s renting a recording studio space.
Bedrooms or spare bedrooms are where a lot of us usually start, often with the intention of eventually being able to produce, write, record and mix in a big, well-treated, aesthetically pleasing recording studio space of our own. While owning or leasing a facility like this is the goal, the reality of working towards that requires a few extra steps along the way. As he moves through the reality of moving his studio space into a room outside of his home, Lewis has attempted to diarise some of the steps required in a bid to help readers working towards the same thing!
Establishing a need, identifying a space, being realistic with my budget, my needs and my position
I’ve been freelancing as an audio engineer with increasing success over the last few years. While I’d initially hoped I’d work on a record that would blow up, affording me the chance to take the plunge into full time work, the reality for me has been different. I’ll work on a release, retain that band as a client, while also gaining one to two new clients who have heard each project I work on.
Read all our latest features and gear columns here.
While this climb has been slower than I dreamed, the numbers of clients build in something akin to the Fibonacci sequence. I’ll work with one band of four to five members, 3 of those people are in another band so I’ll work with their three other bands, all of which have a few members, who have friends and other bands etc.
This has, over a few years, led me to a comfortable little pool of clients. This, in turn, rapidly led me to having more people coming through my comfortable little home studio that I’d like. Not one person made me uncomfortable, or overstayed their welcome, but I’m a really big advocate for separating work and home, and the lines had become blurred.
The work at the home studio was mostly relegated to mix revisions, vocals and additional overdubs. Louder stuff like full bands, drums and blistering rock guitars would be recorded at various studios that I’d dry hire as a freelancer. I’d built a working relationship with the owner at one of these spaces, so when I’d begun to identify a need to expand, I asked about any spare rooms he might have available for rent. Luckily for me, he had one about to become available—I was in!
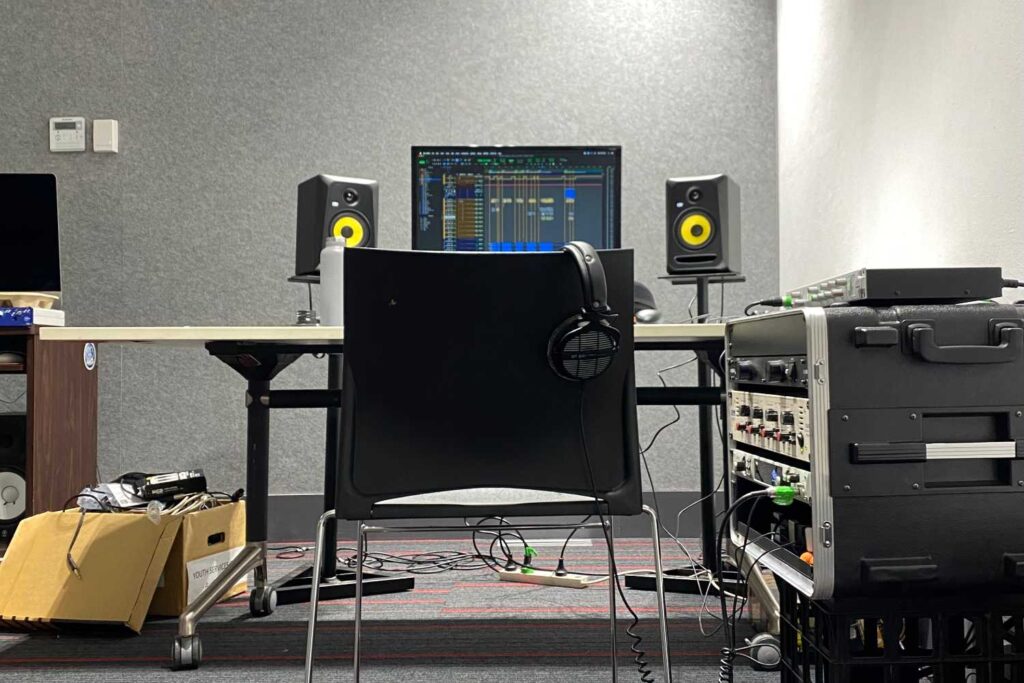
 My empty room
Before approaching the owner though, I was ready to have a conversation and if there’s one thing to take away from this, it’s this: I’d thought about my budget, the reality of working away from home (no more mix revisions at 11pm with all my gear in my house), as well as what might happen if I struggled to make rent (while also renting my home), as well as things like insurance and travel time. While a basic room in the back corner of a studio mightn’t be what I’d always dreamed of, it would serve as a stepping stone towards that.
Planning it out, thinking about the space both functionally and acoustically
The space is modest, approximately 3.5m x 5m, about the size of a comfortably-sized bedroom. I had a little experience treating my spare bedroom as well as I could, as well as measuring the space with a measurement mic and the Room EQ Wizard (REW) software.
A recording studio is incredibly complex to design. They need to be functional, everything within reach, ideally with you being able to remain in an acoustic ‘sweet spot’, acoustic treatment including absorption and diffusion serving to balance out the space, all the while hopefully preventing sound from coming in or out. This serves as the difference between sound proofing and treating a space; sound proofing being part of the construction process, reducing sound from escaping and coming in, while treating a space addresses the sound happening inside the room once it’s constructed.
In this, my first space, I can acknowledge that I need to be able to work confidently, mixing and mastering the sound I’m recording, but it needs to be comfortable and functional as well.
I’ve spent a lot of time recording in rehearsal rooms for bands that didn’t have the budget for a studio, so I’ve kept a lot of my equipment racked in road cases. They’re easy to move around and stack together, all the while protecting my equipment. A new, permanent space means I’m able to install things more permanently, so I set to building a rack: two bays of 13 rack spaces. Because of the length of cable I have available already, I’m limited in how and where I can position my equipment, so this became part of my planning to prevent having to buy, cut and re-solder metres of cable.
 A rehearsal room session
The Plan
Renting and planning a space is all good and well, but it takes clients to pay the rent, so I needed to plan my next few moves. Bands have revisions to mixes, and life outside of music comes at you whether you like it or not, so I needed to make sure my packing up and moving had the least impact on my clients first and foremost, as well as my workflow. In theory it’s simple to move all my equipment from one place to another, plug it in and start working, but I decided to err on the side of caution and give myself a week to get set up. This meant I needed mixes signed off on, most likely not able to work for a couple of days while I moved.
My first success came when I realised an unexpected hurdle: my home studio was full of all my gear, but every inch of floor space filled with my newly built rack, as well as a new rug, and some re-wrapped sound absorbing panels and a ceiling cloud that I had ready to move into the new space. Lucky for me having wrapped up my current workload, I couldn’t comfortably work, let alone move, within the home studio anyway!
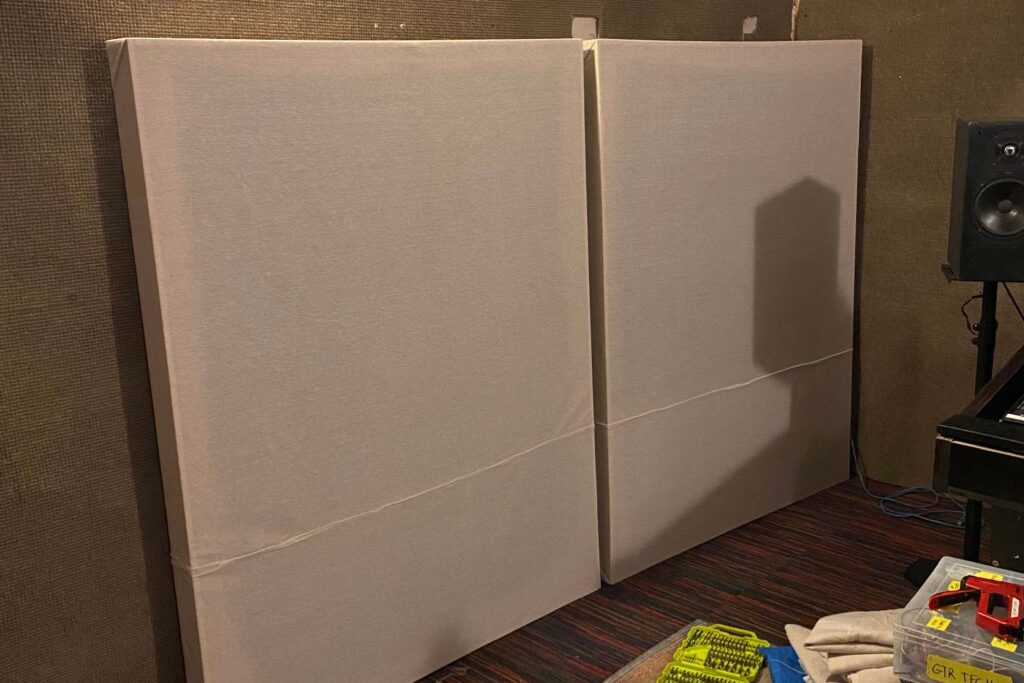 My re-wrapped panels
At home I had a 1.5m x 1.2m absorption panel either side of me, as well as a similarly sized absorber behind my monitors to prevent sound bouncing back into my face, and a doona hung over the window behind me. The new space has no windows and carpeted walls, so I wouldn’t be at the mercy of as much reflection on plaster walls and (admittedly beautiful) high ceilings of my home spare bedroom.
A simple setup in theory, I’m going to leave this at my second hurdle: attaching the acoustic cloud to the ceiling of the new space.
Keep reading about soundproofing here.
