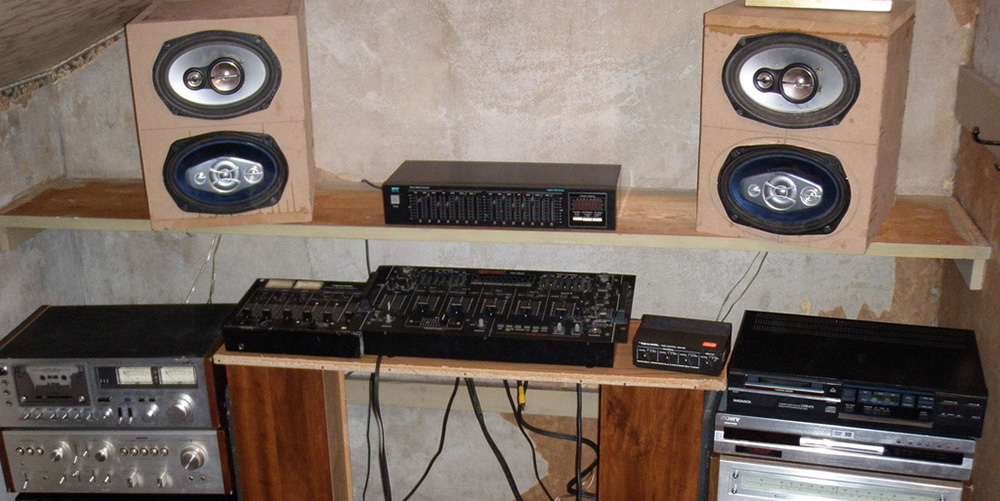
Having just rearranged the recording room and spent the best part of a week organising where everything should go for the most efficient workflow, one of the last tasks on the list was to get the monitor placement right to suit how I work. This is something that is often overlooked with home studio monitors simply spread either side of the computer screen and often overlooked. Considering so many of us spend good money on studio monitors for our home recording setups and even go to the effort of acoustically treating our rooms for better listening, it makes sense to take a step back and consider how the placement of these monitors might be affecting their performance to begin with.
Height, Width and Depth
There are a number of ways to determine where your monitors should be placed in regards to your listening position, but the simplest is to consider an equilateral triangle, with the three points consisting of your two monitors and your head. In order to achieve a correct stereo spread from you monitors, this will give you a good distance measure for how far apart they will be. If you choose to sit very close to the desk, your monitors are going to need to be closer together, right up near the computer screen. But, if you are using a deeper desk, or have your monitors mounted on stands back from the desk itself, you can afford to have them spaced further apart. But it doesn’t stop with just that. You need to consider one other distance in where these monitors are to be set up, and that is their height.
To achieve the best result, you want your monitors mounted at the same level as your ears. There’s no point having them on a low desk so that they are ring directly into your stomach or chest region. What you will end up hearing is not the direct sound from the speakers and will result in a lack of high frequencies as they are muffled by your body. This will lead to your mixing overcompensating for the lack of high frequencies and you will ultimately end up with a mix that is very trebly and unpleasant. So, if your desk does not have shelves on it, ensure you can raise the height of you monitors to match the height of your ears when you are listening. You will hear the results in your mixes when you can hear properly to begin with.

Consider The Port
Many studio monitors these days feature front porting, with use in a small room being taken into consideration in the design process. But, there are still plenty of speaker manufacturers who prefer to use a rear porting to their speaker cabinets, to reduce chuffing of air in front of the listener. Because of this, you need to pay careful attention to how close your monitors are placed to a wall. If you are using rear-ported speakers, they need a good distance between the port and the wall itself. As a general rule of thumb, I like to keep that distance to be no less than the distance between the speaker cone and the ear.
That means you cannot have your listening position too hard up against a wall, with the monitors throwing air up against it. This will result in an emphasis on the low frequencies, as they are amplified from the reflections off the wall. It’s important to remember that low frequencies are not as directional as high frequencies, so it isn’t enough to simply angle your monitors to deflect the sound from the wall. You need to place distance between the port and the wall itself. Understandably this is not always an option, as smaller rooms do not allow for said distance to be achieved. In this instance, it is wise to consider monitor speakers with a front port instead.
Treat Your Yourself, Treat Your Room
It is always a good idea to consider your listening position and how sound travelling around the room passes through that location. A simple reorientation of your monitoring setup might be all that’s needed to improve your listening, but some basic room treatment is always a good option. From your seated listening position, with the door closed, clap your hands loudly in the quiet room and listen carefully to what follows this clap. Listen in on how the sound rings out and where it appears to focus upon. The room’s hard surfaces will make themselves apparent when you do this a few times.
You want to stop the reflections that are passing through the listening position, but not to completely deaden the room. Ideally, ensuring the two surfaces directly in the path of the speaker’s throw is dampened with acoustic foam or a curtain will have the most immediate effect. Then, treating the walls either side of where your head is placed when sitting in the listening position to prevent standing waves will focus the direction of the speaker’s projection. You don’t need to turn your room into a padded cell, just cancel out any offending hard surfaces and leave the rest to provide some life and realism to the room’s own voice.
Check out our new and up to date guide on Monitor Placement here.


