
Mixdown's guide to getting the most out of your synthesizer - be it analogue or VST - when mixing a track.
Since the 1960’s, the synthesizer has revolutionised the world of recorded music. From The Beatles discovering the wall of Moog synthesizers in the late 60’s, the iconic sounds of the EMS VCS-3 on Pink Floyd’s Dark Side of the Moon in 1971, or more modern classics like the Dave Smith OB-6 scattered across much of M83’s work. The list is near endless from classics from the golden era, through to the most modern electronic production, synths have welded their way onto countless hit songs and everything in between, because let’s be honest, who doesn’t love fiddling around for near endless hours, turning knobs, moving faders, patching cables, all in search of the synth patch perfection. Well maybe some more than others granted, but I’m sure most reading this article could confess to such a time spent.
Read up on all the latest features and columns here.
As songwriters, performers, producers, engineers and mixers, finding a spot for these at times monolithic sounds we create on any given synthesizer – be it hardware or VST based – can frustratingly become awash. Chomping up monstrous amount of space within the context of an overall mix. But we don’t want to sacrifice the sounds, having this bone crushing sound we’ve spent hours creating, squashed and squeezed within an inch of its life, if it can be at all avoided. Conversely, sometimes a production or track is presented with some rather uninspired synth sounds that really need some additional spice and pizazz to really get them to pop. So, how do we strike a balance between over cooked and underdone? Let’s explore some techniques to help give synths a spot in a mix whilst giving them size, dimension and depth they desire.
Moog synthesis
One of the most effective ways to help bring out the sound of a synth or create space for other instruments to sit around a big, phat synth pad for example is to employ the use of an equalizer, preferable a parametric. I say a parametric as having an EQ with variable Q or bandwidth is the aim of the game here. These equalizers for those perhaps a little unfamiliar are super useful when hunting around for nasty frequencies that need to be removed from a sound source and are great for narrow or broad boosts when we find a frequency or rather, a range of frequencies we want to enhance.
Speaking to the latter and using our aforementioned synthesizer pad as an example, when listening to this synth in the context of a whole mix, try listening out for if the synth part is covering up or masking any other instruments in the arrangement, say the bass guitar, or maybe the kick drum. Or visa versa, are they inhibiting the synth from being heard? These are all important questions to ask and dig deeper into, so don’t be afraid to solo up just those instruments to help magnify what’s going. Playing around with just an EQ and seeing how it can get these instruments to work a little nicer together and sit more cohesively, but it often won’t just be an EQ to get everything all glued together.
Another, perhaps more advanced EQ technique would be using a mid/side EQ. This essentially allows a stereo sound source’s frequency content to be split and processed into mid and side sections. Sticking with the phat pad synthesizer example again, lets say its cluttering up the centre, competing with the bass and the kick. but we still want it to be present in the stereo field. Mid/side EQ can be great in an instance such as this, in the right dosage of course, because as we tame or turn down the mid, the left and right (or sides) will be enhanced. Try it out, it’s pretty wild!
Compression and Side Chaining
Compression is great tool for helping elements find their place within a mix, either turning them down (which lets not forget, what compression is) and taming peaks, or helps a source come forward and be more present. This can be great for say a synth lead line that swirls into an instrumental break, but it needs a little help with it’s dynamic range, so applying some gentle (or not so gentle depending on your taste and what you’re going for) can be super useful in parking a lead line into place.
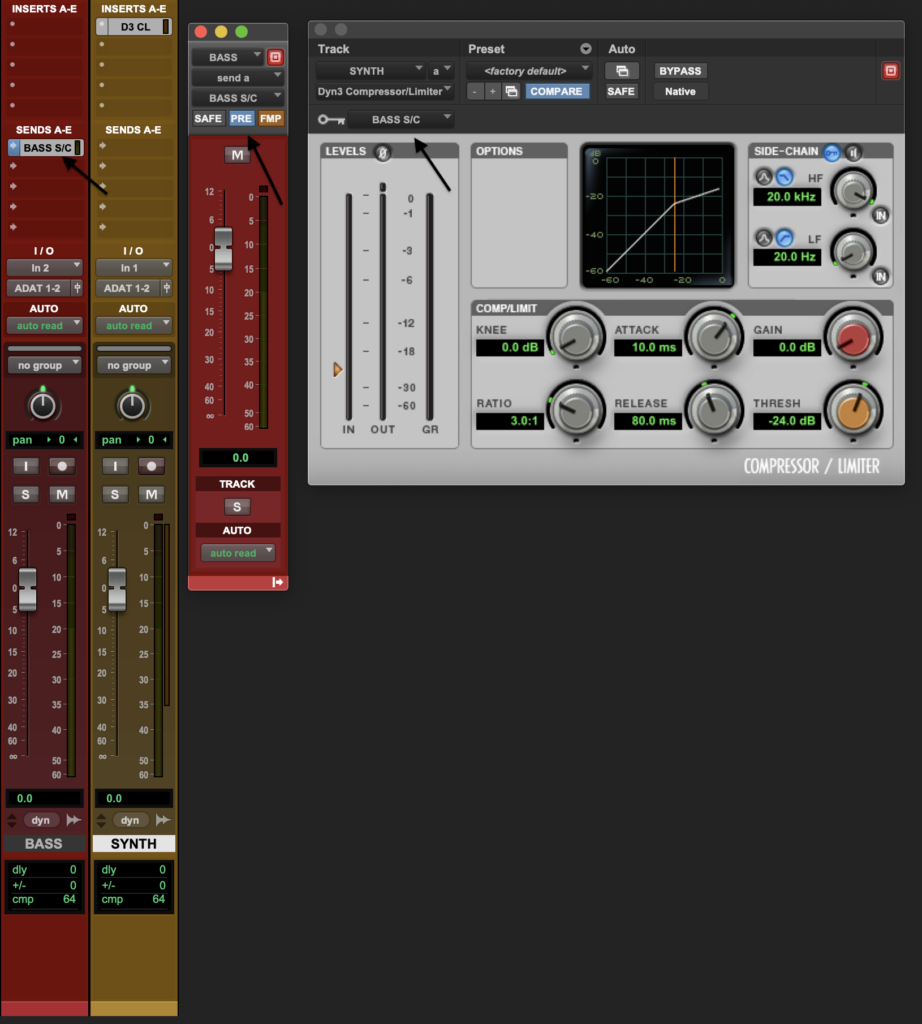
A particularly fun part of a compressor is the side chain input. This essentially allows an external source to trigger the compressor, basically the essence of dance and most other electronic music genres, side chaining makes this music work and feel the way it does. Take a synth part for example and say you want it move around the bass line, it’s easy by setting up a side chain. Insert a compressor onto the synth track in a DAW, assign the key input of the compressor to be fed from a bus (which the bass track will sending to), and send the bass track to that bus pre fader. When the bass line plays, the compressor on the synthesizer track will be triggered. Just set how much compressor you want to happen and voila! This will help the synth jump out of the way of the bass and create some movement between the two instruments. Playing with attack and release times can really help fine tune the feeling and motion you’re going for.
Dimension and Depth
We’ve talked about inserting EQ and compression over a synth track to help it sit nicely in a mix, but what happens if a synth track is just sounding a bit beige, a little uninspiring? It might be a mono synth line that would sound amazing nice and wide, sparkling across the stereo field. Or a lead line that’s a little pokey and needs some depth and character to make it feel more part of the track. Thankfully we have effects such as reverbs, delays, modulating effects like chorus, flanger and phaser and saturation to bring out some additional harmonics. Such a rich palette of colours to choose from, but finding the right balance and flavour combination can be tricky.
For a mono source, particularly a synth that needs some widening, either sending it to a modulation effect such as a slow, modulating chorus can be fantastic, or even being so bold as to inserting it directly on the track and blending to taste can be a vibe too. This effect slightly alters pitch, and the way our brains perceive this is by it being wider in the stereo field. Trippy stuff.
As for time based effects such as reverbs and delays there are myriads of options here, far too many to properly cover in this article. But, experimenting with some shorter reverbs like rooms can be a great way to put a sound source like a synth into a distinctive space, rather than just bone dry. Alternatively, you can really send it by having a much larger reverb space like a hall or a cathedral, which introduce numerous different responses and interesting artefacts. This can help give a synth more depth and you can really start to manipulate whether the synth is closer or further away, playing with the front to back dimension of the mix.
Lastly, delays can add additional colour (particularly analogue style delay lines, which typically darken as the repeats cascade) and again, like reverb, help create a sense of depth. Not only depth, but delays can help exaggerate the left to right stereo field, and if you’re working with a mono delay, say a Roland Space Echo or Echo Plex for example, utilizing the trusty pan knob to create movement from left to right is a sure fire way of making a synthesizer part sound super interesting, bouncing across the mix. Add in some feedback, have it oscillate back onto itself and call it a day!
Overall Picture
When delving into placing synth/s in a track or overall production, what’s really most important over any of the things discussed in above is if the part is going to work in the arrangement. Thinking of tone, timbre, harmonics and harmony are all important considerations and whether the part is playing more of a supportive, melodic lead part or perhaps an arpeggiated rhythmic part can help dictate what sort of sound could work better. Of course, chasing the sound in your head is a great way to steer this ship too, rather than strictly breaking it down technically. Hopefully some of the techniques highlighted above can help get more out of your synthesizer patches within a mix, having them feeling rich with colour, vibe and immersed nicely in the track.
Craving more synthesizer-centric content? Read about Korg Berlin’s prototype “Acoustic Synthesizer” here.