A profoundly misunderstood tool—until it's understood again!
The condenser microphone really is something special, and I think the world of modern recording has done it a bit of a disservice. While they’re still widely produced, purchased and used, I think bevause they have a steeper learning curve than the humble dynamic microphone, they fall out of vogue with a lot of engineers and producers.
Dynamic microphones are supremely directional, filtering out a little more bleed than a condenser microphone will, generally. We’ll use pretty broad terms throughout this article as both dynamics and condensers have had some pretty incredible technological advances recently.
Read up on all the latest features and columns here.
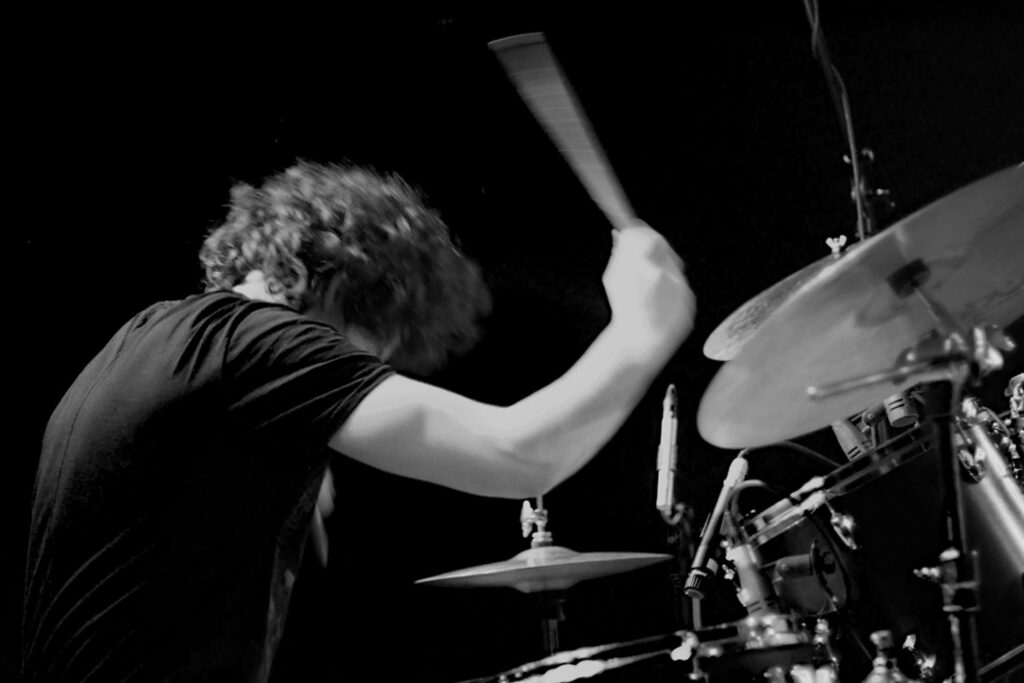
Where a condenser microphone struggles, is when younger engineers begin exploring them, learning about micing and capturing sources, and struggle to deal with the bleed that they impart because they’re less directional. Bleed has a really bad implication in audio, our modern workflow involving VSTs, gates, expanders and A.I. powered treatment that leads us to believe that we should be cutting out as much as we can. As we move through the world of audio and get more experienced, we realise the records we love are full of bleed, and it gives recordings depth, identity and more, the extra moment that the sound takes to hit the mic from a source nearby creating a more realistic arrangement. For example, cymbal bleed in a tom tom mic, for which you could use a small diaphragm condenser microphone or a large diaphragm condenser.
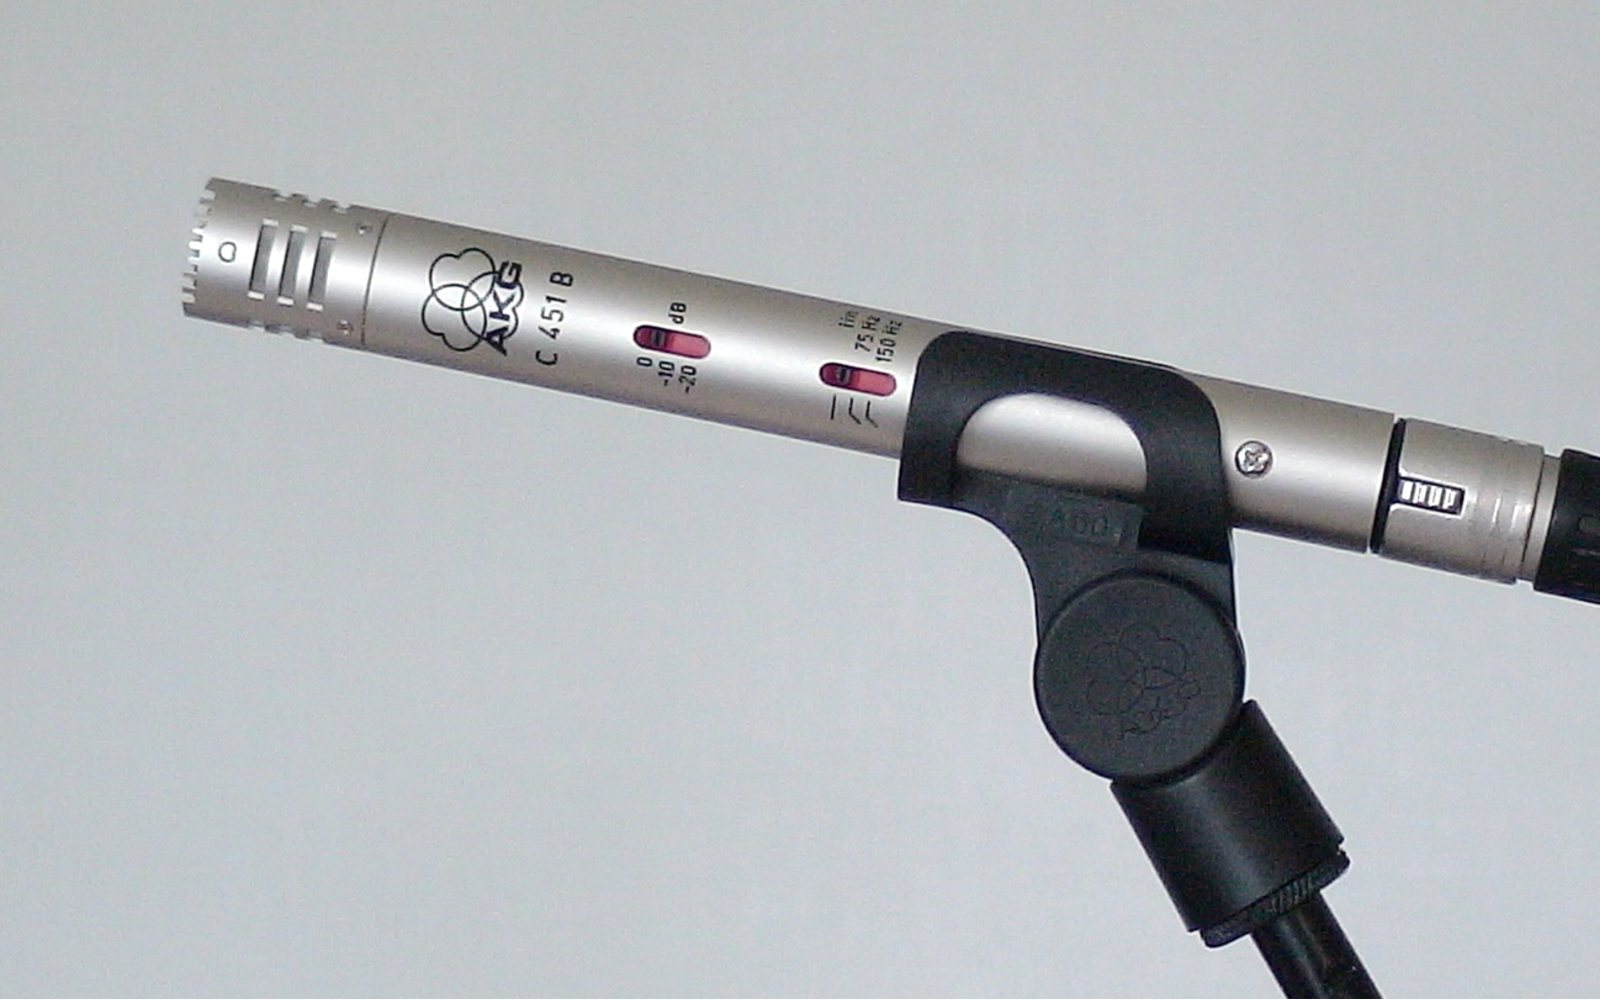
Small diaphragm
A small diaphragm condenser microphone is, as its name suggests, a condenser microphone with a smaller diaphragm than other condensers. A larger diaphragm adds resonance and, in some mics, musicality, for a bigger sound. Smaller diaphragms are generally still pretty full-frequencied, though not as bold and hefty as larger diaphragm condensers.
A small-diaphragm condenser can be a bit more directional than large-diaphragm, and so can be a good way to start experimenting. Small diaphragm condensers can be great for sources like toms and snare drums, as long as you’re willing to deal with, or embrace, that bleed! Similarly good results can be yielded from guitars and bass cabinets, as well as anything you might need to sound very true-to-source, uncoloured or encumbered by the gear you’re running it through.
As opposed to dynamic mics, again using a tom drum as an example, small diaphragms help the tom to pop out of the speakers, capturing additional attack, as well as body, note and tone. There’ll definitely be a bit more bleed from the cymbals, small diaphragm mics being available (or switchable) in cardioid, omni and super cardioid, so be weary of where you’re pointing them, and what’s behind them! The high end and clarity of a condenser is what makes them so special, as well as their ability to capture quieter sources. You can begin your mix in the recording stage by using darker dynamic and ribbon mics for the bulk of the band, and condensers for the stars like vocal, snare and guitar solos!
On a guitar cabinet, mic placement is especially important. The nuance of the speaker cone is most obvious when under the microscope of a microphone, mere millimetres shifting the recorded tone from perfectly balanced to a fizzy mess. This is exacerbated with a small diaphragm condenser, the microphone generally having a wider view of things that can serve as the extra sauce to your sound or a hindrance as you struggle to find the balance. As always, experiment!
Large diaphragm
Large diaphragm condensers are great for full-bodied sounds that need to be captured in the clearest possible way. Think of lead vocals, strings, acoustic instruments, kick drums and more, the larger body of the condenser serving to fill out the low end of the source.
Large diaphragm condensers are usually reserved for more isolated recording, their wide range of capture sometimes leading to a particularly roomy sound if you’re not in a well-treated space. This can lead to less than ideal recordings and can take a little practice to get right!
Something like a U47 mic, probably the most famous large diaphragm condenser, can work wonders on a source like a kick drum as it adds the weight and thump of the kick, while tying together some of the ambience and air around the kick itself and connecting it to other spot mics. On a vocal, a large diaphragm condenser captures nuance, emotion and performance, though can be so detailed that you’ll also capture mouth noise, breath or room noises, either ambience or otherwise, like shuffling on the spot, foot tapping or cables getting bumped.
Mic position plays a huge role here, a singer close to the mic will add low end via the proximity effect, whereas too far back and the balance between vocal and room tips too far one way. If I can offer any advice: don’t give up! Large diaphragm condenser microphones can be difficult to wrangle, but the payoff is second to none.
Stereo pairs
Finally, we’ll discuss stereo pairs and intentional use of condenser microphones for room sounds and overhead. With bleed not being an issue, condenser mics are a great option for capturing an acoustic space, like a drum room, to blend in with spot mics on specific drums.
Pencil condensers work particularly well, their size filters out some of the lower frequencies naturally, making way for the low end elements. Larger bodied-condensers can have a great, bombastic effect when placed lower to the floor, by moving them further from the cymbals. Pushing this further might lead you to leaving your mics on the floor – why not? There’s a whole lot of low end energy that rumbles through the floor, and laying mics on the floor can be a great way to capture this. Tape them down though! The round design of a condenser microphone lends itself well to rolling around.
Boundary mics, usually condenser, are great for this as well, being designed to be sat and not moved on a floor or surface!
The condenser microphone is highly regarded in the studio world and for good reason, but the reality of their use can lead us to thinking they’re adding mess, mud and roominess, but in fact they’re just capturing an overtly accurate and clear sonic picture of the source, and we should experiment, practice, adjust and embrace the acoustic spaces we’re capturing. The sonics of the jam room that you recorded your first album in has more identity than a perfectly edited, gated and treated recording anyway!
Condenser microphones require 48 volts of phantom power to operate, you can keep reading about that here.