Apply these automation-based approaches to take what comes next, to the next level
Today, for the recording musician, there is a seemingly endless number of hats to be worn. Composer, lyricist, producer, sound engineer, mixing engineer, mastering engineer, and this is all before the song is finished!
Once things flip to release mode, the list grows further: marketing manager, graphic designer, social media expert, publicist. Throughout these roles, there are some that are more important than others. For me, the song remains the focus. Perhaps Metallica and the Beatles concur and this explained their black and white covers to herald their most vaunted releases. I can just hear the marketing and design teams back in the day emit a collective cry of “nooooo!”
Read all the latest features, columns and more here.
There is one thing, however, that we can’t just “phone in”… the drop! That chorus for the ages that music fans lust after. The brain melting synth screech with half-time beats. Many techniques are used to signpost and prepare the drop. From EDM risers, snare rolls, and bass bombs to pick scrapes, drum fills, and reverse cymbals.
In this article, we’ll look at a couple of automation-based approaches that take what comes next, to the next level.
Dynamics
Before we start, one of the key considerations to be aware of is the dynamics of your mix, and further to that, understand what it is that makes us perceive something as being loud. When discussing dynamics, we often hear vague talk of: “Keep it dynamic. Don’t over compress. Compress harder. Don’t use a clipper. Use a clipper.” Confusing to say the least.
One thing that seems to rarely enter the conversation is a discussion around what exactly makes us perceive one sound as being louder than another. Our perception of loudness relates to two phenomena: instantaneous, or peak level, and sustained loudness, aka RMS – Root Mean Squared. RMS may sound complicated, but it is simply an average of level over a longer duration of 300ms, rather than an instantaneous peak. Think, a clap or snare drum vs. a sustained synth pad or distorted guitar. For an in depth discussion, check out this article. TLDR: to make a drop/chorus hit harder, an increase in RMS will be perceived as being louder than and an identical increase in peak level.
To illustrate this, automate the master fader to jump in volume when the drop occurs. Sure the drop gets louder but in doing so, introduces an undesirable side effect. By moving the master fader to jump 3dB, the RMS level remains unchanged, and the comparative level of the verse section will be lower. Far from ideal.
So, let’s explore three techniques that will make your drop hit harder than the Foo Fighters’ classic, ‘Everlong’.
Using compression
Let’s hit the DAW and get started. First, install a compressor onto the master bus. The free MJUC Jr is a great option for this technique. Set a slow attack (20ms-50ms) and moderate release (100ms). If, like the MJUC Jr, your compressor has an auto release setting, engage it. We aren’t looking for aggressive compression. Just a little “glue”, so to speak. Adjust the ratio parameter, if present, to 2:1 and the threshold so that the compressor is just kissing the loudest transients of the track, with a gain reduction of no more than 2dB.
Next, install a trim plugin before the compressor. The simpler, the better. All we want to do is control the overall volume of the mix as it feeds into the compressor. Select the volume parameter on the trim/utility and automate it to increase the overall mix, pre-compressor, by between 3dB and 6dB. With the ratio of the compressor set to 2:1, this will cause only 1dB to 2dB increase in peak gain but will increase the RMS to yield a satisfying boost to perceived level. Assuming you have some other additional elements being introduced at this same point in the mix, the effect could be sufficient.
Depending on your arrangement, you can make the volume increase instantaneously, over one beat, two beats, or an entire bar. As with all things audio, experiment. Make sure that you are automating the trim plugin gain to increase the gain of the audio into the compressor. If you automate the master channel volume, depending on your DAW, this may alter the volume after the compressor. Not what we are looking for. Per the example, this will yield an increase in peak volume and no change to the overall loudness, or, RMS. Again, not what we were looking for.
On the drums now
Sampled, programmed, looped, or real, the technique works great on drums as well. You need to ensure your drums are routed to a subgroup so they can be processed as a single audio group. This is relatively straightforward in a modern DAW. (A quick google along the lines of “setting up a subgroup routing in [insert name of DAW]”, should assist).
Now, install the trim plugin and after that, the compressor. The ratio can be set higher at 4:1 and the same time constants should work well: attack 20ms – 50ms, release 100ms. Set the threshold of the compressor so it is compressing no more than 2dB on the loudest peaks then automate the drums to push the subgroup into the compressor. Somewhere between 3dB and 8dB will do the trick, depending on how hard you want to hit the drop.
With the compressor set to a ratio of 4:1 a volume increase of 8dB will only increase the peak output by 2dB. Depending on how busy the drum track is and the volume characteristics of the individual drum hits, the RMS will increase considerably providing that desired hit, for the drop.
Using EQ
The final technique looks at using EQ, rather than volume, to make the drop hit harder. This time we’re applying the technique to the instruments in the track that are providing the harmony or chords. Generally, this will be the guitars in a rock track, piano and keys in a funk, pop, or jazz setting, and synth/pads in EDM. (Don’t look at this as an exhaustive list and be sure to experiment on horns, strings and even bass guitar as well.)
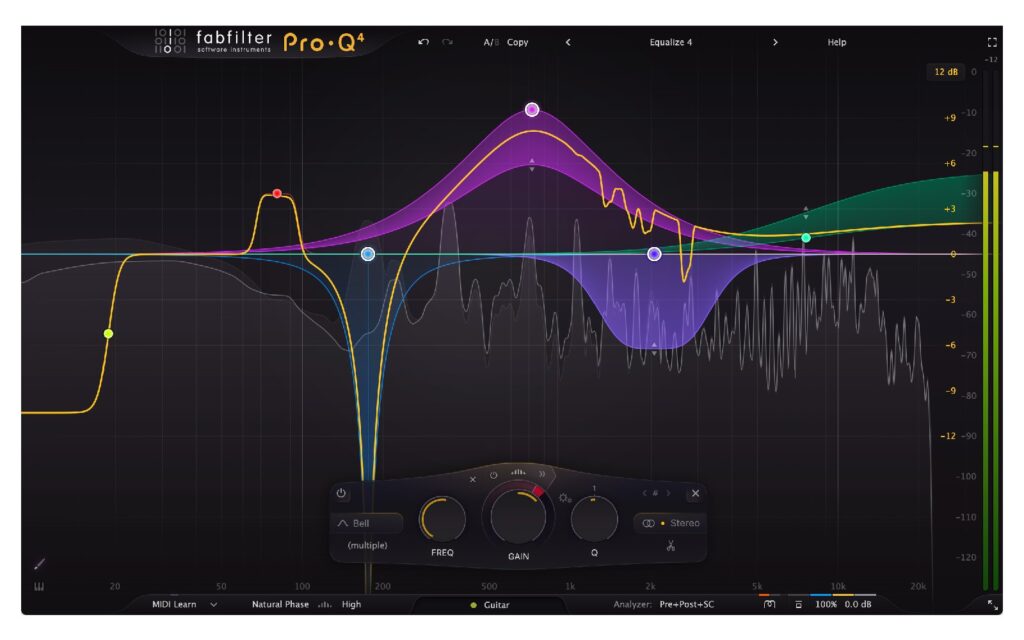
Again, route all tracks you are looking to use to a single subgroup. Listen to the chorus/drop and set a volume level that you are happy with. Remember, we’re looking for maximum impact, so a “healthy dose” is in order. Insert an EQ plugin that has both a High Pass Filter and Low Pass Filter (HFP & LPF) and set the filter slope to 6dB per octave as a starting point. (Experiment with different slopes after you have the automation setup.)
Rewind a little to the preceding section. Set the low pass filter to a point where the top end of the group loses its sheen a little. Somewhere between 8kHz and 5kHz should do the trick. Don’t go crazy. The aim is to cast a little shade to create contrast rather than a specific AM radio effect. Bypass the plugin to hear what the filter is doing and adjust to taste. Next, set the HPF to somewhere between 100Hz and 150Hz so the body of the group is reduced a little.
Now, using automation, bypass the EQ plugin for the chorus/drop and the effect should give more weight and shine to the section everyone is waiting for. The automation can be set to either bypass the plugin completely, or slide the HPF down to 20Hz and the LFP up to 20kHz. This could take place over a period of a beat, two beats, or a bar. The quicker the timeframe, the more dramatic the effect.
Experiment with the settings for all of the techniques. All three will result in a tasty increase in RMS while minimising peak level increases. Combine two, or all three and you’ll find that your choruses hit harder than a dose of Nirvana’s ‘Lithium’.
Find the most explosive choruses here.