It's the same old tale, gigging veterans all have stories about that one show where their output jack failed, a pickup shorted out, or that pesky patch cable derailed an otherwise blazing set!
Now, if you are fortunate enough not to have endured such an experience, don’t worry. Your time is coming sooner or later. But, as a guitar player, before the existential dread sets in and you are encumbered with rig paranoia, know there are ways in which you can take matters into your own hands. That’s right, there is no need to subscribe to the perpetual ticking of the doomsday clock of a guitar player when there is a very simple solution. Learn how to solder!
Now personally, I have seen the face of many a guitar player turn pale at the thought of swapping in a new pickup, insisting that they have neither the skill base nor the knowledge required to undertake such a task.
Read all the latest features, lists and columns here.
However, the truth is that any average Joe with basic equipment can swap out a bridge humbucker or fix a shoddy guitar cable. Poking around inside your guitar is entirely safe from an electrical standpoint, unlike working on amplifiers which can prove to be deadly to anyone but trained technicians.
Having laid the groundwork for what it takes to learn how to solder, let’s dive into guitar wiring 101.
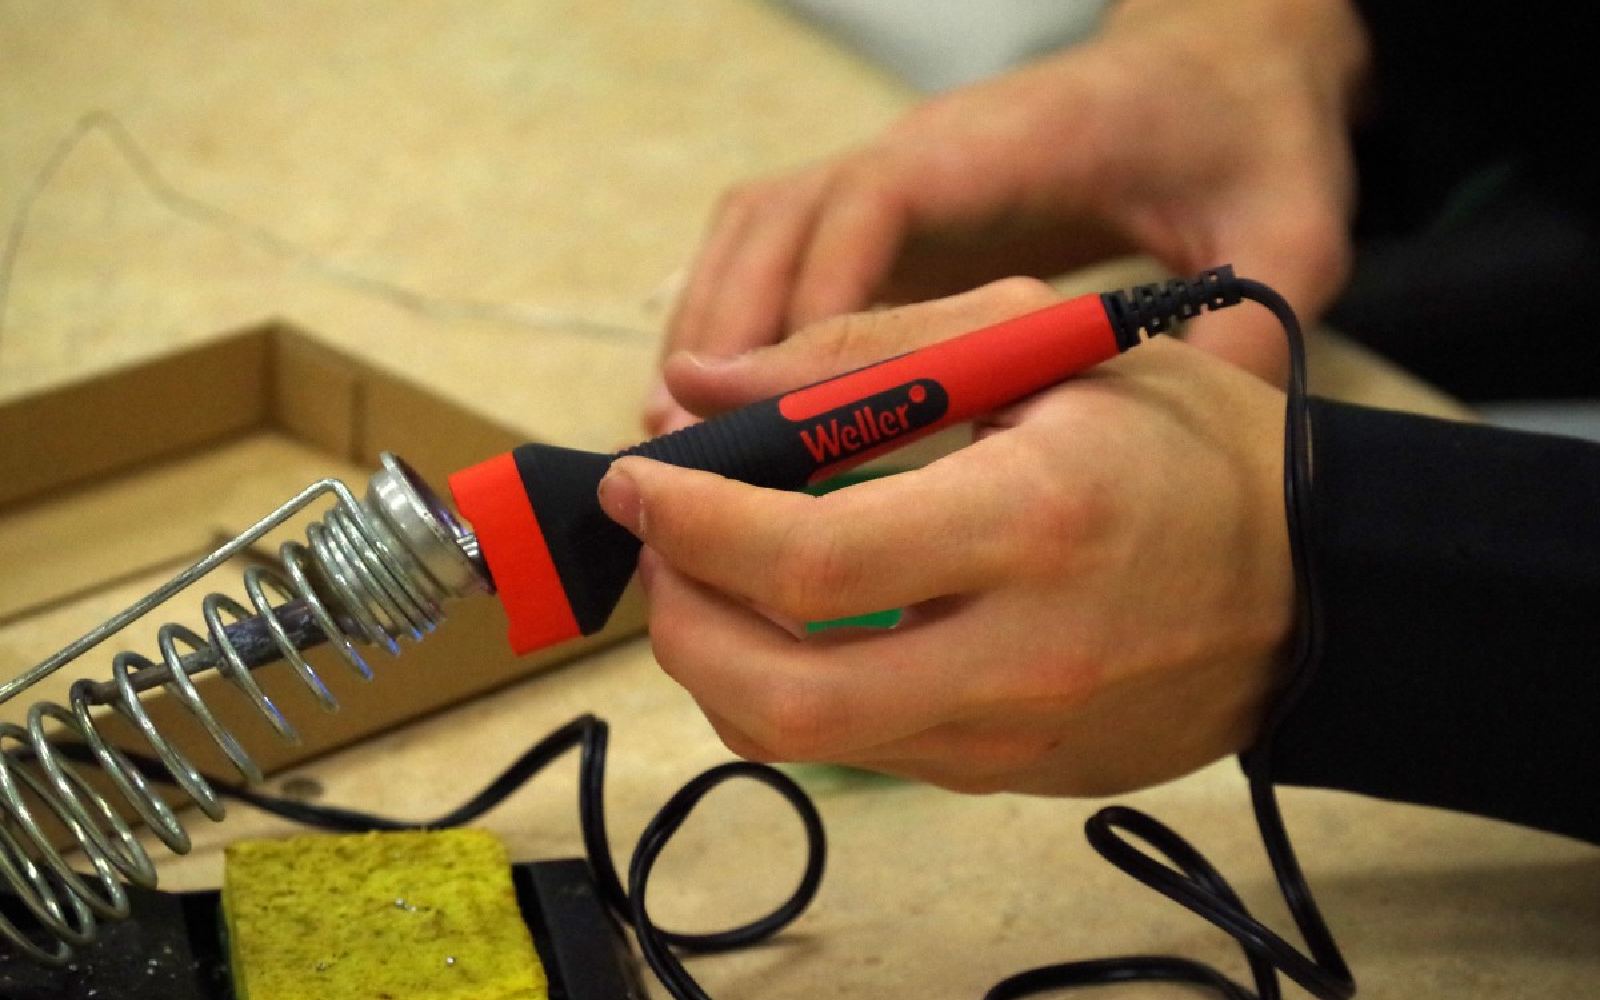
Soldering iron
For beginners, any old soldering iron will do. However, if you are purchasing new, I do recommend opting for a 40-watt iron as this is powerful enough to undertake any guitar-related wiring duties. If feeling somewhat lavish, it may even be worth springing for a temperature-controlled soldering station, but only if you see yourself undertaking regular soldering projects in the future. DIY effects pedals, anyone?
Thinner solder is better than thicker solder for guitar work. While there are numerous options when it comes to solder types and composition, literally anything will be a suitable choice for those starting out.
Lastly, a sponge for cleaning, either a brass sponge of a literal damp sponge, for cleaning the tip of your iron is essential. Many will also find a soldering stand essential, and burning your desk, guitar, or your own hands isn’t particularly fun. Whilst minimal, this is really all that you need to get started. However, in the future, you might find it useful to add solder braid, a solder pump, flux and a helping hand contraption to your arsenal.
I highly recommend taking the time to spread some sort of protection over the body of your instrument before you begin any sort of electronics work on it.
This is because occasionally solder may splatter or a blob itself may fall from your iron. This escaped solder will be hot enough to damage the finish of your guitar or burn your skin, a mishap that is easily avoidable if the right measures are taken.
The most cost-effective way to make a solder shield is to procure an old towel and cut out a section that will expose your guitar’s electronics cavity.
Tip of the iceberg
While working on your guitar, it is important to keep the tip of your soldering iron clean, this is where the aforementioned sponge comes into play. When you notice the tip of your iron becoming dull or oxidised, you simply need to wipe it on the damp sponge to clean it. It is also important to begin with a small coating of solder on your iron, commonly referred to as tinning. You will know that your iron is effectively tinned and prepared for use when it has a shiny silver appearance.
Next, it is important to understand the concept of transferring heat from your iron.
The goal here is to get the component you wish to solder heated up, which will, in turn, help the transference of the solder from the tip of the iron to the component you wish to solder.
It is important to note that this shouldn’t take more than a second or two (any longer and you risk burning components). If you are having trouble getting the solder to transfer, remove heat and try again once the component has cooled down. Heating components for too long spells big trouble; an overzealous hand can ruin a potentiometer or switch in minutes, so it’s best to take your time. Applying a small amount of solder to the tip of your iron before making the connection can help if you are having trouble with this process.
Cold solder
Before connecting a wire to a contact, it is important to first tin the wire in question. This is easily achieved by twisting the strands of wire together, heating them, and applying a little bit of solder to the resulting twist.
This will cause the solder to soak into the strands of wire, effectively tinning them. The purpose of this exercise is to provide a surface on which solder will easily flow, providing better connectivity when it comes time to make your solder joint.
Conveniently, most guitar components have small lugs that are provided for us to solder to. To prepare your solder joint, poke your freshly tinned wire through and hook it around the lug with your fingers.
Now bring your soldering iron to the lug and heat up both the wire and the lug itself. Once hot enough, you can feed some solder onto the connection and remove the heat.
Let the joint cool, and congratulations, you have effectively made your first solder joint! You do not need much solder to make an effective connection, and a proper connection should be silver and shiny. If your connection is dull in appearance, it is important that you de-solder and re-establish the connection. Dull connections are referred to as Cold solder joints and don’t do much to promote electrical continuity, making them a big no-no when it comes to establishing an effective circuit.
In scenarios where lugs are not present, for example, soldering ground wires to the back of a potentiometer, you may struggle to maintain a solid connection between your wire and the component itself.
In this case, it can be helpful to scratch up the back of the pot itself with something like a screwdriver. It is quite common for those components to ship with a coating on them that doesn’t promote the easy adhesion of solder, and lightly roughing up the surface itself can do much to remedy this problem. Despite our warnings earlier, getting solder to stick to something more flat like the back of a pot can take an extra second!
Severed Ties
Fortunately, you will be pleased to know that desoldering wires, for example to remove a guitar pickup, is a generally much more straightforward process. We say generally because de-soldering from PCBs (as is increasingly common in modern guitars with active electronics) can be a nightmare! Thankfully there’s de-soldering tools to handle those job more succinctly.
Generally, simply reheating the joint and carefully pulling the wire away from the previously established connection should be all it takes to desolder a wire. This leaves you free to clean the contact of old solder with a soldering braid or pump, freeing it up to be utilised in a new circuit. A soldering braid is a small roll of braided copper that can absorb solder when heated, pulling the solder away from your joints. A solder pump, however, uses a spring mechanism to create a quick moment of suction that, when tused with ehated solder, can quickly vacuum up any excess!
Learning to solder is an invaluable skill for any guitar player, not only can it save you in a pinch, it also has the potential to save you money, and potentially even make some money as a side gig! Not only this, the fundamental skills learned in guitar electronics can serve as a foundation for electronics-based knowledge in a variety of other music-related fields. Who knows where that unassuming soldering iron will take you!
At the end of the day, if you take a stab and find that it is giving you grey hairs there is no shame in taking your beloved instrument to a tech for a professional touch.
Who knows, they may even let you peer over their shoulder during the process so you have a better understanding for your next attempt! You can keep watching and learning about guitar player specific soldering here.