The line between a passable acoustic guitar sound and a musical one is vast—and there's a few things you can do to achieve the latter!
Acoustic guitar can add a little sparkle to a dense mix, or it can serve as the supporting actor in a sparse arrangement for a singer-songwriter. While a DI can be an easy way to record acoustic, they can often sound succinctly “DI-y”, for lack of a better word.
The acoustic space around the acoustic guitar can be equally important, serving to give the sound depth and dynamic, providing a more natural sound than the crisp, isolated sound of the DI output of an acoustic’s pickup system.
Read all the latest features, columns and more here.
Acoustic guitar can be a fickle beast, their sound being difficult to capture and harder to treat. It’s an instrument that very much borrows from its environment, so ambient noises can make their way onto the track; but they’re not always necessary! Here’s a handful of tips for getting the most out of your recording.
Mic placement
Not unlike their amplified cousins, mic placement can have a drastic effect on the resulting sound of your acoustic guitars. Miking too close to the sound hole can push too much air into the microphone’s capsule, creating a woofy and overloaded tonality. Larger-bodied dreadnought guitars have a naturally big sound, and augmenting this too much can overshadow the articulate and crisp sound of an acoustic guitar.
Miking up too much of the fretboard can sound brittle and thin, and while supremely articulate, you won’t be able to EQ back in that body once it’s been lost.
While in some instances it can be a good solution to mic up both spots, you’re also adding in a phase relationship that’ll need to be managed, and adding faders to your recording that also need to be balanced. Great if you need to adjust the sound later, but a single mic can serve as a clearer, more succinct sound.
Miking somewhere between the fretboard and soundhole can produce the best of both worlds, providing weight and body, while capturing crisp and defined fretting and notes.
A mic pointed at the upper bout can provide a punchy, mid-forward result, garnering a distinctly ‘woody’ tone and resonance, with a little less string noise. If string attack and clarity are your game, for example for fast country, bluegrass or jazz, a mic pointed more around the fretboard and 15th fret will yield clarity, sacrificing a little body that the soundboard/upper bout will offer.
Here’s where things get messy: your artist will naturally move around a little, so get them comfy before positioning your microphone/s! Keep an eye on their position, and most important of all: listen. If things get brittle or boomy, they might’ve adjusted their seat and playing position. All this talk of the best mic position for a microphone might have you questioning: which mic?
Measurement mics are your friend
A few years ago, I decided to dive into the world of acoustics and start measuring the changes I was making to my studio and acoustic treatment. I bought myself a Behringer ECM8000 measurement mic, realising they were cheap enough to buy a pair and have a spare set of condensers – why not?
While the rabbit hole of measurement has deepened, I also decided to see how the mics sounded while recording acoustic guitar and—lo and behold, I’d never heard such a true-to-source sound. Other condensers and dynamic mics had shifted the balance, despite sounding great in the room, the recorded results weren’t so nice all the time.
Measurement mics are designed to be reasonably flat, full-frequencied and, in the case of the ECM8000, omnidirectional, so they capture what they’re pointed at, as well as the space around them. This makes them great for acoustic instruments like guitar, though be weary if there’s another source behind them like another musician! While we’re at it, I’ve had great results with these same mics on hi-hat and ride cymbals for the same reason— I just want an honest, pure recording of that source!
Record a room mic
With all this talk of the space around the guitar playing such an integral role in its sound, let’s discuss miking up the room. A rule of 3:1 mic ratios says we should place at least three times the distance from the source, so if your direct mic is 10cm away from your chosen spot, your room mic should be at least 30cm away to avoid phase issues like comb filtering or loss of bottom end. This is not a hard and fast rule, and Mixdown accepts no responsibility for phase or polarity related issues!
The type of mic used for a room mic is really up to you, I’m partial to a ribbon as they’re figure-8 and naturally darker, leaving room for the direct mic to handle brightness and string noise. Condenser mics are great for detail, but will pick up the nuance of a space, so maybe not the best choice for a bedroom or dead space. A dynamic mic isn’t something usually relegated to room mics duties, though they manage to sit nicely between a condenser and ribbon, so try them out! Mics pointed at walls will have a more evenly dispersed and diffused sound, while room mics pointed directly at the source will be more, uh… direct.
Think of the stereo image
A single guitar would generally be a mono source, so you’ll need to think about how you want it to sit within a stereo (or immersive, or Atmos) arrangement. You might need to record multiple takes for stereo effect if you want it panned left and right, or deciding you’re happy for it to sit in the middle, or panned off to one side, a single take is a-okay.
That room mic, if well-balanced, can serve as a great way to make your acoustic guitar stereo, using that extra distance between the guitar and room mix for Haas effect. Hard pan the close mic to one side, the room to another and balance the sources, and you’ll have a nice, roomy and natural guitar sound that leaves room for things like vocals, leads or snare in the middle of the stereo field. This can offer a more transparent sound than adding the Haas effect digitally in mixing, something that can sometimes sound phasey and filtered.
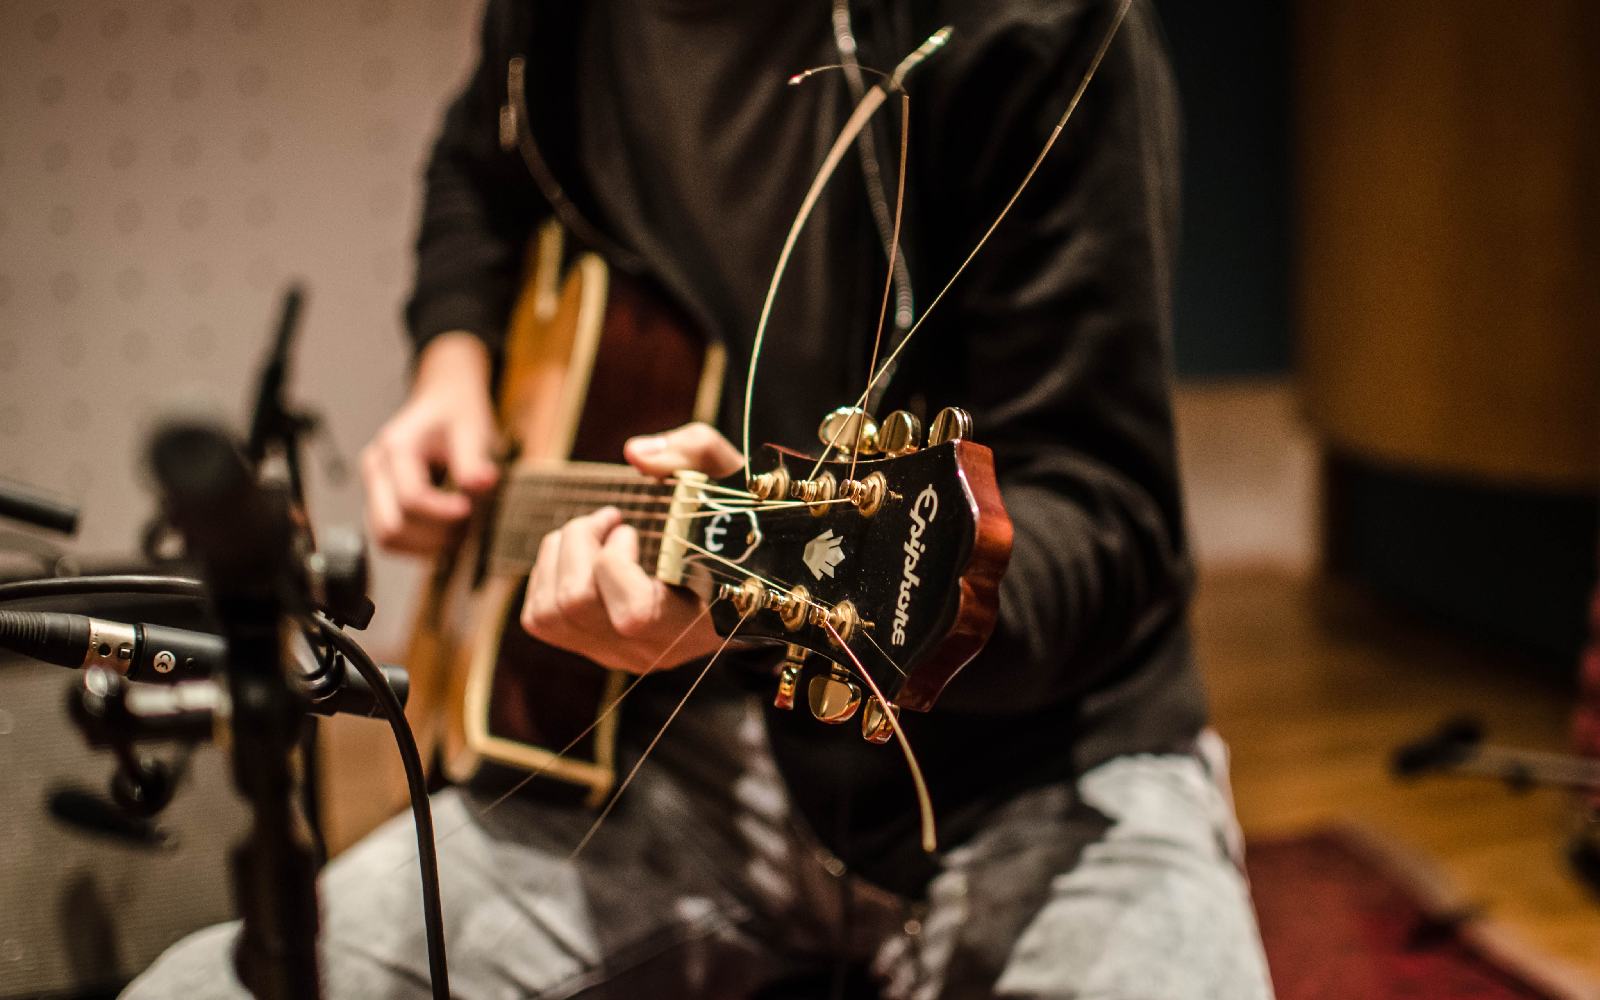
String lubricant
While not explicitly a recording tip, preparing the guitar for recording is all part of getting it right at the source. Fresh strings are often a great idea for recording, but round-wound, fresh acoustic strings especially can have a really harsh, streaking and scratchy sound to them.
String lubricants are available and while making for a more comfortable play, they also help to reduce string noise that’ll be picked up by your carefully placed microphone. While a little of this can make an acoustic guitar sound more real and less edited, they can also poke out in a really jarring way, and can be difficult to fix or EQ out without destroying your overall sound.
Careful of that click track!
One final note about recording acoustic guitar, and should be kept in mind when recording everything, but be careful of that click! Quiet, intimate acoustic guitar can create drama and dynamic in an arrangement, but the quiet the guitar, the more of noise of the room the mic will hear—including that metronome!
Be really wary of sending an artist too much in their headphones as this can both cloud their ability to hear what they’re actually performing, as well as causing bleed into microphones. While we’re on the topic, closed-back headphones are probably your best bet for recording. The open-back design allows for more comfort, but also allows air (and sound) to flow in and out of the headphone, creating more problems with ambient bleed.
If you’re recording in the same room as your artist, this goes for you too, engineers! Mute those mains and get on a pair of closed-back cans!
Fingers or guitar pick
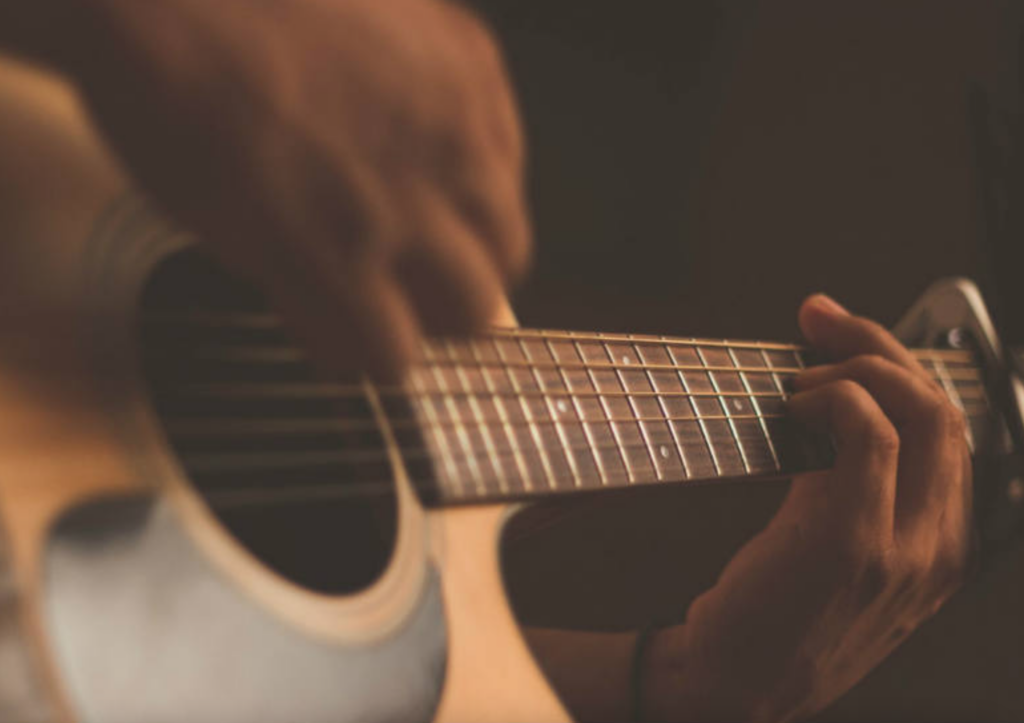
Another performance-based tip, but trying to swap between a plectrum or fingers can help you out at the mixing stage, helping the guitar to either poke through with a pick, or settle back into an arrangement with a pick.
Generally fingers will yield a warmer sound, while a pick is more articulate, so try both!
Bonus tip:
Remove bangles, rings, bracelets and necklaces, watches!
This one is front of mind for me because the hourly beep on a watch almost ruined a take recently, but bangles, bracelets and watches will also scratch and rattle against an acoustic guitar, those sounds will be amplified within the body before bouncing out of the sound hole.
Rings can knock against frets, dangly jewellery and necklaces can rattle against a guitar’s body, especially when an artist really begins to rock. You want them to be able to move and groove a little bit without ruining the sonics of your sound!
Learn about the anatomy of an acoustic guitar here, and brainstorm some different places to try miking up!