There has never been a better time to be a home recordist.
Moreso now than ever, pros and hobbyists alike have a bounty of fantastic sounding tools to get the job done, with much being available at prices that were previously unheard of. Due to this newfound accessibility, fantastic-sounding productions and electric guitar sounds are emerging from the confines of the most unusual spaces. If this wasn’t enough, these records are often tied together on shoestring budgets with minimal gear.
Read all the latest features, lists and columns here.
A prime example of this can be found in pop sensation Billie Eilish. Her 2017 single “Ocean Eyes” broke the Billboard 100, eventually being certified Triple Platinum.
Interestingly enough, the mic used to capture the entire vocal performance for this hit was the Audio Technica AT2020. A basic condenser microphone that can be purchased from your local JB HI-FI for the princely sum of $145. Ok, so I’ve made my point. But how does this apply to the electric guitar pantheon?
Well, it’s blatantly obvious. If you are a hobbyist recordist looking to get stellar-sounding guitars at home, you will be pleased to know that all is within reach, regardless of what equipment you may have. It just comes down to knowing how to use your tools!
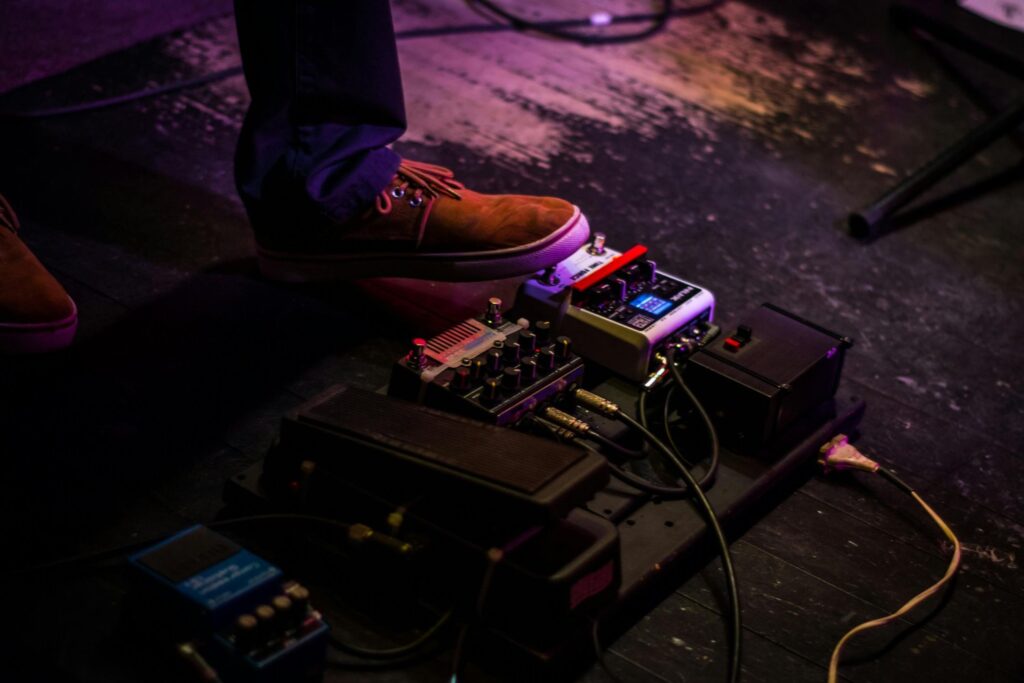
Foremost, regardless of what microphones you may have in your arsenal, it is most important that your guitar rig sounds good in the room you plan to record it. No, I’m not saying you need a specially treated room or a million-dollar Dumble combo. Hell, I’ve heard passable tones pulled with a $20 battery amp mic’d up in a crusty squat.
Moreover, I’m just expressing the importance of starting with a quality source that is appropriate for the genre and caters to the player, so tweak those knobs and signal chain until your little heart is content. Once the tone has been deemed suitable, you can finally move on to placing some microphones.
For simplicity’s sake, I will not be delving too heavily into specific microphone models in this article.
Single mic
The most straightforward of them all, some engineers may be quick to disregard just how potent a single mic approach can be in the right context.
Start by pointing your mic of choice directly at the centre of the speaker cone against the grill. The rule of thumb here is that a mic placed closer to the centre of the speaker cone will sound brighter. Inversely, as you work away from the centre towards the edge of the speaker cone, you will notice less treble and enhanced midrange and low end. From here on out, the single mic technique is essentially a balancing act, finding the sweet spot that best suits your tastes.
Additionally, you can experiment with the microphone’s distance from the cone itself, “proximity effect” as well as the angle of the microphone. All factors that will further alter the tone captured on your recording.
Fredman Technique
Popularised by Swedish Metal Producer Frederik Nordström, the Fredman technique will be the first multiple technique discussed in this article.
To implement the Fredman technique, you will require two microphones, most commonly dynamic microphones.
One microphone will be placed straight on the cabinet, and the second will be placed at an angle “between 30 and 45 degrees”. The grills of both microphones then meet, much like the point of a triangle. When using more than one microphone, it is most important to consider phase. An incorrect phase can introduce undeniable artefacts such as comb filtering and frequency cancellation.
However, frequency cancellation is part of what has made the Fredman Technique such a popular choice for high-gain guitars, as the technique introduces phase cancellation that smooths out the high end. This results in a fat, chunky tone, devoid of the unwanted fizz that has a tendency to plague a lot of high-gain sounds.
Room and distance miking
Place a microphone on the speaker cabinet, and then a second microphone back some distance behind the first microphone. This technique can work to give more room ambience and depth to a single microphone placed on the speaker cabinet.
Determining the appropriate distance between capsules will be a matter of experimentation and will depend on both the phase relationship between microphones and what you are trying to achieve.
Alternatively, for 4×12 or 2×12 cabinets, you can also capture the full sound of a cabinet by placing a microphone in a position that all speakers are firing at. The other techniques we’ve discussed here generally refer to miking up one or two speakers at a time, whereas this technique captures the blend of all four speakers; which is ultimately more like what you’ll be hearing in the room.
Jerden Facelift
What I affectionately refer to as the Jerden Facelift is essentially a multi-mic technique that utilises a microphone on the back of the speaker cab. Now I’m adamant that this isn’t the direct origin of this technique; however, id personally learned of such a method via the practices of American Producer Dave Jerden on Alice Chains’ Facelift album as well as the sophomore release Dirt.
When used in combination with other microphones placed in a more traditional fashion on the front of the electric guitar speaker cabinet, the Jerden Facelfit works to thicken up and enforce the base tone of your electric guitar, even providing more low-end to the source when the phase is correct.
Head mic
The head microphone revolves around the philosophy that a microphone placed directly on a speaker cabinet will never replicate the sound guitarists hear when standing in front of the cabinet in a room or performance situation. It’s rare (and ill advisable) that you’ll be fine tuning your tone with an ear an inch from a speaker cone, you’ll much more likely to be standing over the cabinet and adjusting the head— so why not mic up that spot!
This is due entirely to the fact that the human ear and the microphone capsule are both essentially “placed” at entirely different distances from the speaker itself.
Placing a microphone at head height, at a distance similar to where the player would be standing during a live performance or rehearsal, can do much to give a source recording that feeling of standing in the room. This can be used either as your main tone or blended with other mics. Blending in a head mic with your close mics may just be the ticket to recreating that feeling of your hair blowing back in front of a cranked Marshall stack on your band’s next EP!
Producer Dave Jerden passed away earlier this year, leaving behind a legacy bigger than the bands we worked with. You can watch an interview and breakdown of some of his electric guitar techniques in work with Alice in Chains here.