Dynamic Microphones
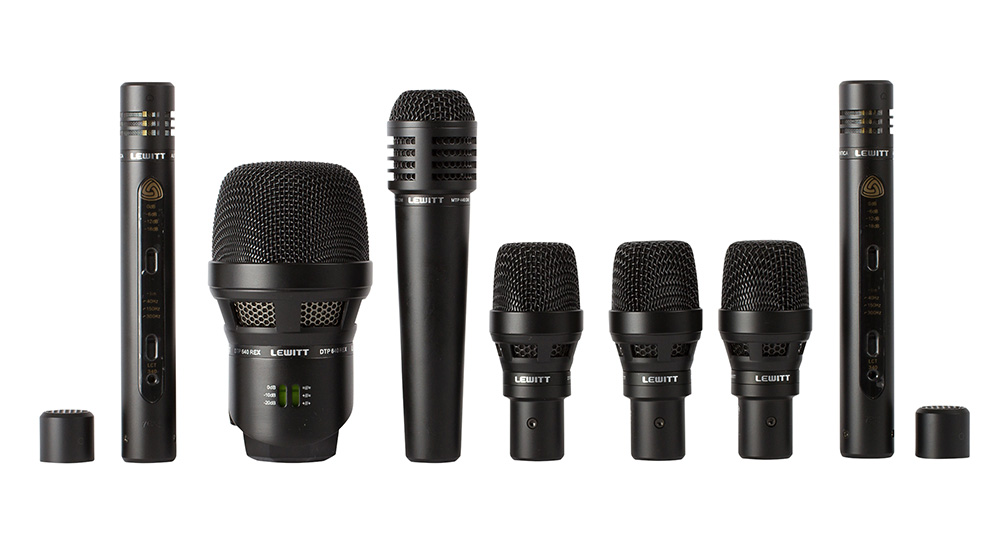
Deriving their title from the fact that movement is required within the capsule, dynamic microphones are the most commonly used microphone, especially in live environments. The capsule is mounted to a magnet inside the housing. This magnet has a copper coil around it, so when the sound waves hit the capsule and cause it to vibrate, the magnet moves within the coil, generating a small electrical charge, enough to power the microphone. It is because of the weight of the magnet restricting the movement of the capsule that dynamic microphones tend to require a louder signal. Low level signals are not easily captured as the capsule isn’t able to move with small variations in air pressure. For this same reason, high frequencies are often lost with dynamic microphones, keeping environmental noise to a minimum. Because of this, they can be ideal for high sound pressure levels, like close to individual drums, guitar amplifiers and brass instruments. They naturally knock off a little of the harsh high frequencies and are able to handle high volumes without the capsule moving too greatly and causing distortion.
Condenser Microphones
Condenser microphones are quite the opposite. They have a freely suspended capsule within the housing. There is no copper coil and no magnet weighing the capsule down, resulting in a far more delicate microphone that is capable of capturing higher frequencies and more subtle variations in air pressure. This means that your room needs to be fairly quiet and well treated to get the most of a condenser microphone. If you are using it in a noisy environment, it will only project this noise more readily into your recordings. The better the condenser microphone is, usually means that the capsule is more sensitive too.
So, before you rush out and buy the most expensive microphone you can afford, consider if the room you intend to use it in is up to the challenge. Because condenser microphones don’t use a magnet and coil to create a charge, they need to be powered by an external source. This is where Phantom Power comes into play. You would have all seen the Phantom Power, or +48V, markings on switches found on mixers or audio interfaces. This supplies the needed power to a condenser microphone through the third, current unused pin, in an XLR microphone cable. Sending power up the cable allows the microphone to operate without the need for a dynamic capsule design.
Ribbon Microphones
The third microphone type you might come across is ribbon microphones. This is where you need to be careful as they are often built into casings like condensers, but they most certainly are not. Supplying Phantom Power to a ribbon microphone is likely to fry the ribbon element and see the end of your recording tool. These microphones use a length of magnetic ribbon to act as the capsule, rather than a round diaphragm. What this results in is the ability to capture very low and very high frequencies with the one microphone, even at high sound pressure levels and in a variety of polar patterns. They are often placed into a specialist category and rarely end up in home studios, but can achieve great results with some experimentation. Just be careful to make sure no Phantom Power is being supplied to the mixer’s channels before connecting a ribbon microphone.
In all, it seems the romance of a classic condenser microphone in a suspension cradle will always be the ‘go to’ option for people when they want to do studio recording. But in reality, it is a combination of microphones that is always needed to achieve the best results. Don’t get caught up in how the thing looks, no one will ever know, or care, what it looked like when they listen to your music. They will only judge your recording on how it sounds, so make sure you choose the correct microphone for each application based on resulting sounds and not image.
