As the cost of living crisis hits younger Australians the hardest, musicians are finding cheaper ways to clean and maintain their gear.
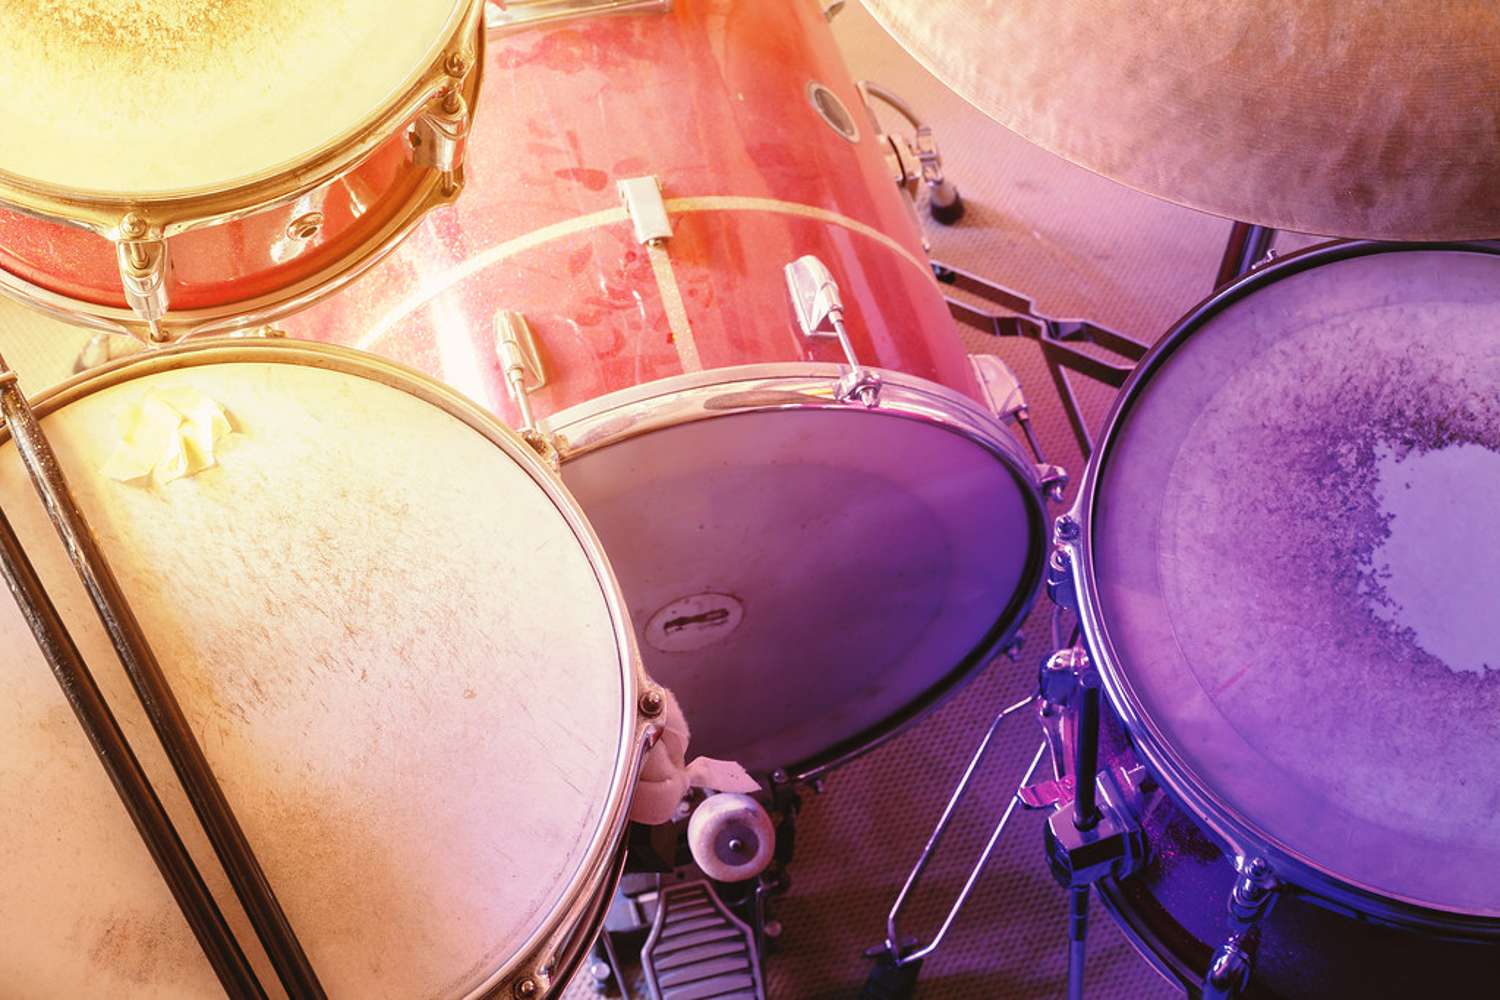
It’s probably harder for drummers. Modern kits have the most amount of mechanical pieces, and which are most prone to breaking unexpectedly because they’re hit so hard. Drums are also the most visual thing about a band, so it’s important to have a drum cleaning regime to keep them looking bright and sparkling.
Drum cleaning
Clean Dirt
To avoid having to clean dirt and dust on your drums, it makes sense in the first place to cover your kit with a blanket or bed sheet when you’re not playing.
Read up on all the latest interviews, features and columns here.
You should be giving regular rub-downs after a show, especially if most of your gigs are in hot sweaty rooms.
A microfiber cloth is durable and comfortable. It effectively gets rid of dirt and fingerprint smudges, and won’t leave scratches.
A budget pack of four should cost no more than $3, and $16 to $25 for a 12-pack.
Landing
Dust which lands on your drumheads and cymbals will be grounded in as you hammer away at shows or rehearsals, leaving black splotches everywhere.
A significant build-up of gunk can rob the kit of resonance and, at worse, cause cracks.
To clean your kit properly and slowly, it makes sense to choose the right time rather than when you’re in a hurry and rush the process.
DRUMHEADS
Plastic heads made of mylar and/or polyester have their benefits.
But of late, there’s also been a swing back to animal skins as goat, calf and kangaroo in the name of historical accuracy.
Warm water and lint-free soft cloth are cheapest (note: paper towels are too abrasive), and usually enough to remove dust and dirt if not too ingrained.
Dry the heads and shells completely afterwards, as water left on the surface damages the lacquer finish.
Household Cleaners
Many household cleaners from the home laundry do the trick. If not, look for mark-downs and sales in a supermarket or hardware store.
Safest is a drop of non-fragrant dish soap in a quart of water.
To degrease and remover rust, spray on a can of WD 40 ($9 to $19) and let it sit for a couple of minutes.
Slip on a glove (pack of 100, from $6.98 to $11.48).
Aluminium Foil
Aluminium foil ($8.39 for a 50-metre pack) can be used as the main scrubber, either crunched up or folded into a pad.
Use a cloth or rag or old T-shirt to wipe off excess.
What To Avoid
Avoid ammonia, bleach or any abrasive cleaners. They can colour or damage the heads.
This includes various Windex brands ($9 to $35) which can include ammonia or alcohol.
One of the best cheapest and safest solutions for cleaning drum heads is a mixture of equal parts water and white vinegar.
Animal skins expand and contract when wet, so don’t play them for an hour or two after the cleaning.
DRUM SHELLS
If they’re not too dirty, you just need a soft long brush to get at the dirt in between the lugs and around the edges.
But if it needs greater work, find a cleaner in the laundry that has no ammonia, acid or bleach – nothing that is going to damage the finish – and is non-inflammable.
If it’s your first time at cleaning, apply it on the inside of the drum in a small spot and test it.
Furniture Finish
Furniture finish will penetrate the drum’s wood and give it protection. Wipe off after ten minutes with a macro-fibre towel to avoid scratching.
Buff it with a new cloth, not the one you used to apply the application.
Fine spray with furniture finish so it will help repeal the dust and make the drum look shiny.
If you do a certain amount of outdoor gigs, wait a day and do a second coat.
Removing Goo
To remove goo from duct or masking tape, adhesive remover Goo Gone costs less than $10.
If the kit really needs a clean-up, take the shell apart to get to all the pieces.
Keep track of where you put every nut and tension rod and keep each apart, so you don’t get in trouble when you’re putting the kit back together.
Use turtle wax chrome polish (a small tin is under $15) and, placing a glove or sock over one hand, scrub with enough force to get rid of rust. Dry off with an old T-shirt. Give a second coat if need be.
Steel Wool
To get rid of light scratches, drumming pros recommend 0000 super-fine steel wool (lower end is priced at under $10 at a hardware store) for cleaning, restoring aluminium back to its original appearance or removing stains from wooden surfaces.
CYMBALS
One columnist summed it up: “If you want your cymbals to keep sounding like they did when you bought them, you should keep them looking like they did when you bought them.”
Cymbals are made from bell bronze, malleable bronze, brass and nickel silver, and prone to smoke, grime, fingerprints, dust and dirt.
Not looking after them properly has the same effect of not brushing your teeth, with effects as colour changing, cracks and, also in the case of the cymbals, rust.
Protect
They are also given a lacquer finish to protect them from signs of the aging process.
So during the cleaning process, take extra care to make sure you don’t damage the metal or the protective coat.
Take care of the delicate grooves, so no bleach or ammonia to be used.
Branded Cleaners
Branded cymbal cleaners from the major makers range from $12.95 to $49.
Brass polish, which many drummers use, range from $13 to $17.
They are usually OK but unless you have a rough idea of how much metal is in your cymbals, it could cause some damage.
Also popular is Groove Juice ($25. 99), which is a simple process to restore lustre and keep the tone awesome.
You spray it on the cymbal, let it sit for between 30 seconds and a minute, and then wipe it off.
Further Wipe
It’s also recommended to give it a further wipe with a wet cloth to remove any acid residue.
But in the name of saving money, you can also start with cold water (not hot water, as it can soften the coating) to clean
Don’t pour water over the cymbal, but use a soft cloth dipped with water. Some use old toothbrushes. Always dry it thoroughly afterwards.
Slice Of Lemon
Wipe a slice of lemon along the cymbal grooves, using its citric acid. Then use the water and lemon pulp to wipe up all the oxidation, and finish off with a good wipe with a cloth.
If you opt for dishsoap, start off very mild (a drop per quart of water) and then work up to get the sparkling effect you want.
BEARING EDGES
Take the time to have a close look at the bearing edges of your toms, snare, and kick drum, and lubricate them to help in seating and tuning.
Some Aussie skinsmen use 3M machine oil although most warn readers not to use liquid, vaseline (sticky) and candle wax.
DrumDial’s solid stick twisted open Bearing Edge Conditioner ($20) is not a wax, soap or a petroleum product but easy to use, and strengthens and conditions the top of the bearing edge where it contacts the drum head.
STANDS
You use the same stuff you would to clean the outside of the drums.
In fact, it’s recommended that once you’ve de-assembled the kit, you start with stands to test out the cleaning products.
REASSEMBLING THE KIT
Before you put the kit back together, check out a couple of things.
Depending on which drummer you talk to, bottom heads should either never be changed, or changed every two years, or only when they break.
But rule of the thumb is, if they can’t be tuned evenly or seem to have lacked resonance, replacing them will make a world of difference.
Everything Tight
Check the beater to make sure everything’s tight. Some drummers don’t change them at all, or opt to rotate them, the way you would the tyres on your car, for extra wear and tear.
Rotate them front to back, and then from one side to another. This will make a difference to your feel.
Why you use a strap or chain drive or direct drive, depends on whether you want feel over speed.
Totally Personal
It’s a totally personal thing, so just look to see if the parts are wearing out and affecting your speed or feel.
Springs tend to wear out quicker when they’re on super-tight.
If they’ve started to lose their springiness, check the hinges, bearings and sprocket for stretching or weakening, or adjust the pedal at a music store (many times they won’t charge you) rather than go for a full replacement.
STICKS
To stop them from getting dirty, many players fully tape their sticks.
But if they do get dirty, there’s really no cheap way to fix the problem.
Wood absorbs water or any other ingredient you use to clean the sticks.
Best solution: just throw them away.
Keep reading about more tips from Drumeo.