NATURAL DYNAMICS
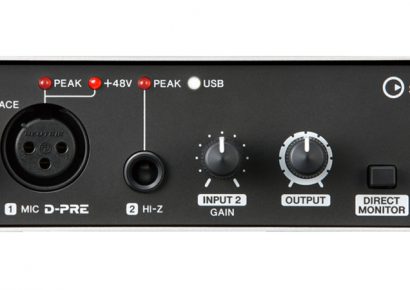
When we talk about using compressors, we are looking at controlling the dynamic range of a voice or instrument so it sits more consistently in the mix. Now, although there are all sorts of great compressors out there that add a wonderful warm tone and shape the voice in a very subtle and natural way, the first thing to consider is how you can control dynamics without a compressor. Let’s face it; the less a processor has to do to a voice, the more natural the end result will sound. So, let’s apply that theory to compression and try to capture a more even signal to begin with. Obviously years of speech therapy and vocal training is always going to be a good start, but that isn’t necessarily an option. The very simplest way to control the variations in your voice is to ensure a consistent microphone placement. Now, this may seem odd, given that you should have the microphone stationary on its stand so it will be consistent. This is true, but consider how the vocalist moves around the microphone when they sing and think about how this variation in distance between the mouth and the microphone is affecting the dynamic range of the captured audio signal. Now that you think about it, it is easy to see how much variety happens without anyone really ever noticing the cause of it. So, the problem is deduced and now a solution is required. That is where the humble pop filter comes into its own for a different role. Whether it is you singing, or someone else, the pop filter needs to be placed at a distance from the microphone that allows for a clear capture of the voice. Then the singer needs to place their nose just against the filter. This is their reference point and they need to maintain in very close proximity with the pop filter throughout the entire recording whenever they sing. It is a little unnerving to begin with, but soon becomes second nature and ensures the singer remains the same distance from the microphone’s capsule at all time. The first level of compression has now been achieved without having to squeeze any life out of the sound with a processor at all.
PULLING IT BACK
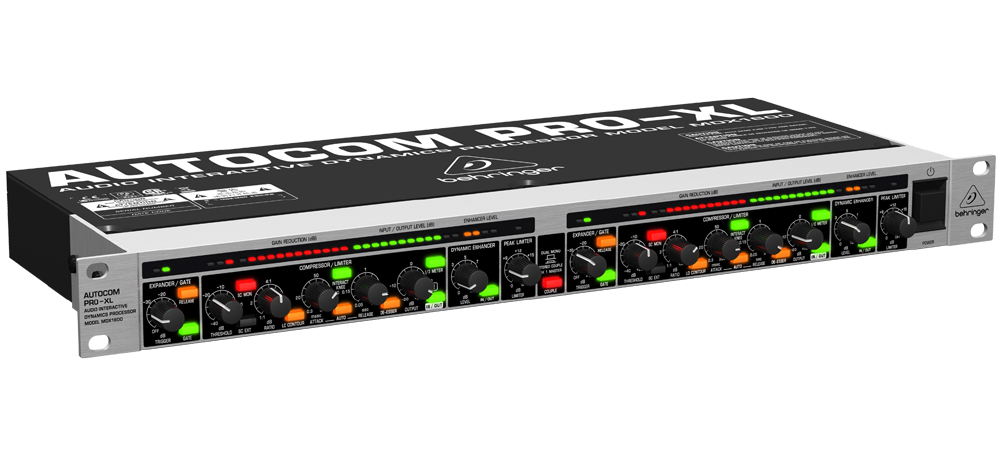
Now that the signal is getting through to the microphone, it is time to use an appropriate compressor to finely smooth out the vocals. Be gentle here and don’t carve too much from your dynamic range. Remember, if it all gets levelled out completely, you’ll end up with a flat, boring piece of music that strives to get any interest from the listener. You want to keep the energy and dynamics of the performance, but to tame it a little so you can control and emphasize it when and where you want. A compressor shouldn’t be used so that it causes a ‘pumping’ feeling in the mix as dynamic peaks are pulled down rapidly and other parts are pushed up by the make-up gain to fill the gap. Just like with using reverb, I am a strong believer that you shouldn’t really hear a compressor when it is engaged, but you should definitely be able to notice its absence when removed from the signal path. This sounds fairly simple, but there is no quick way to just set any compressor to deliver this kind of result. You need to listen. Yes, listen. Don’t get obsessed with watching what a VU meter is doing or what a graph is telling you as far as dynamic peaks and gain reduction. It is very easy to allow the visual element of some software to take over. You need to remember that it is how the results sound that matter, not how the session looks on screen. Your intended audience doesn’t get to see the gain reduction VU meter, they only hear the results and so you need to shut your eyes and truly listen to what the compressor is doing. Then, you can push it and find that point where it sounds obvious. Once you get to that point, pull it back until you no longer hear what it is doing and you will have achieved the result your vocals need.