Diffusion, dispersion, reflection and absorption. But what does it all mean?!
A lot of us music makers have ambitious dreams of owning and working out of a beautiful recording studio, filled with gear, patchbays, multiple rooms and clear lines of sight between them all. While aesthetically these are beautiful, they don’t always sound as good as they look.
Building a recording studio is a supremely complicated project, requiring isolation between rooms, as well as preventing sound from coming in or going out, all the while ensuring each room sounds great for recording, mixing, mastering, monitoring and more! There’s a bunch of conventions for optimising sound, but they also require a lot of compromises, the mathematical rules for ‘perfect’ sound becoming impractical really quickly!
At a high level, we’re going to demystify a few things about treating your recording studio, either at home or a rented space, and give you the tools to dive in further; either to research or to start building your own panels! Let’s start with the basics: soundproofing vs. acoustic treatment.
Soundproofing vs. acoustic treatment
This is something that’s important to get out of the way early; soundproofing and acoustic treatment are not the same thing, despite the terms sometimes being used interchangeably. As a general rule of thumb, acoustic treatment improves the sonics of the sound inside of a room, while soundproofing refers to the construction of the space itself. Acoustic treatment generally doesn’t do much to improve sound proofing, and vice versa, a well-soundproofed room won’t always sound “good” once you’re inside.
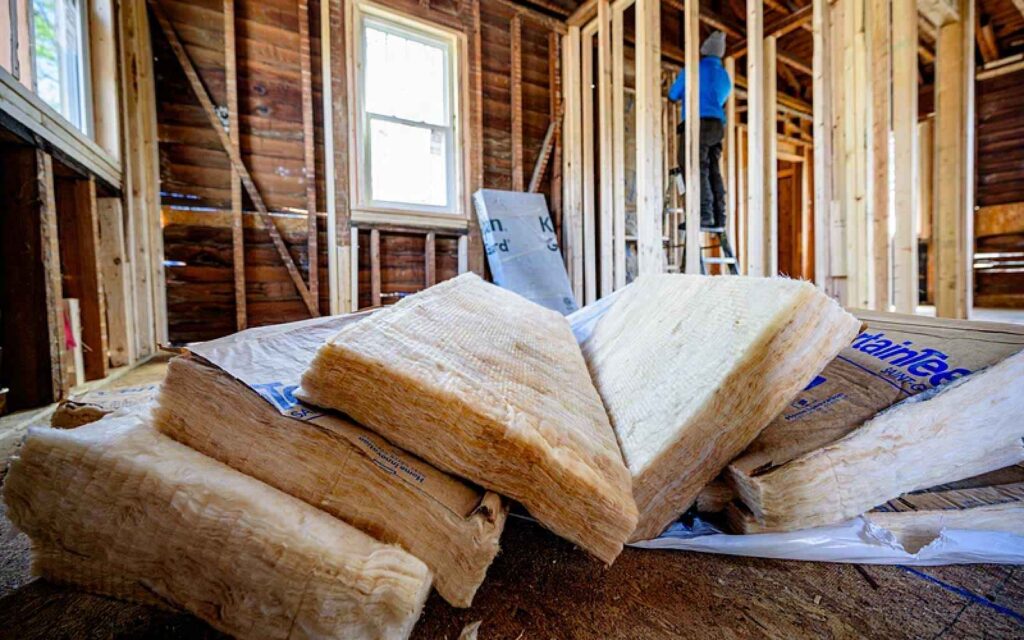
Soundproofing is the process of preventing sound from leaving or entering a room, usually by controlling air and vibration. Acoustic energy travels through air, so a great way to prevent sound from leaving a room is to ensure there’s nowhere for air to enter or exit the space. Here’s our first problem: human beings not only need air to breathe, but for long recording studio sessions, it’s important air circulates as well as keeping audio gear cool and prevent overheating. Soundproofing often involves building rooms inside of other rooms, often with structures isolated from one another, ensuring no vibrations from the inner room are able to transfer to the outside structure and out into the world outside. Structures are often floated on rubber or foam to prevent vibrations, ah… vibrating. Low end is particularly troublesome, with low frequencies transferring between spaces with ease, much like hearing the thump of a kick drum outside of a nightclub.
Acoustic treatment, on the other hand, allows you to control the sound within a room by preventing and controlling overt reflections from walls, ceiling and floor. Construction can also help with acoustic treatment, by avoiding parallel surfaces for acoustic energy to ping around, build up and bounce around.
We’ll get more into the specifics of acoustic treatment later, but as a general rule, absorption and diffusion are the two main types of acoustic treatment.
Computer screens, glass and windows
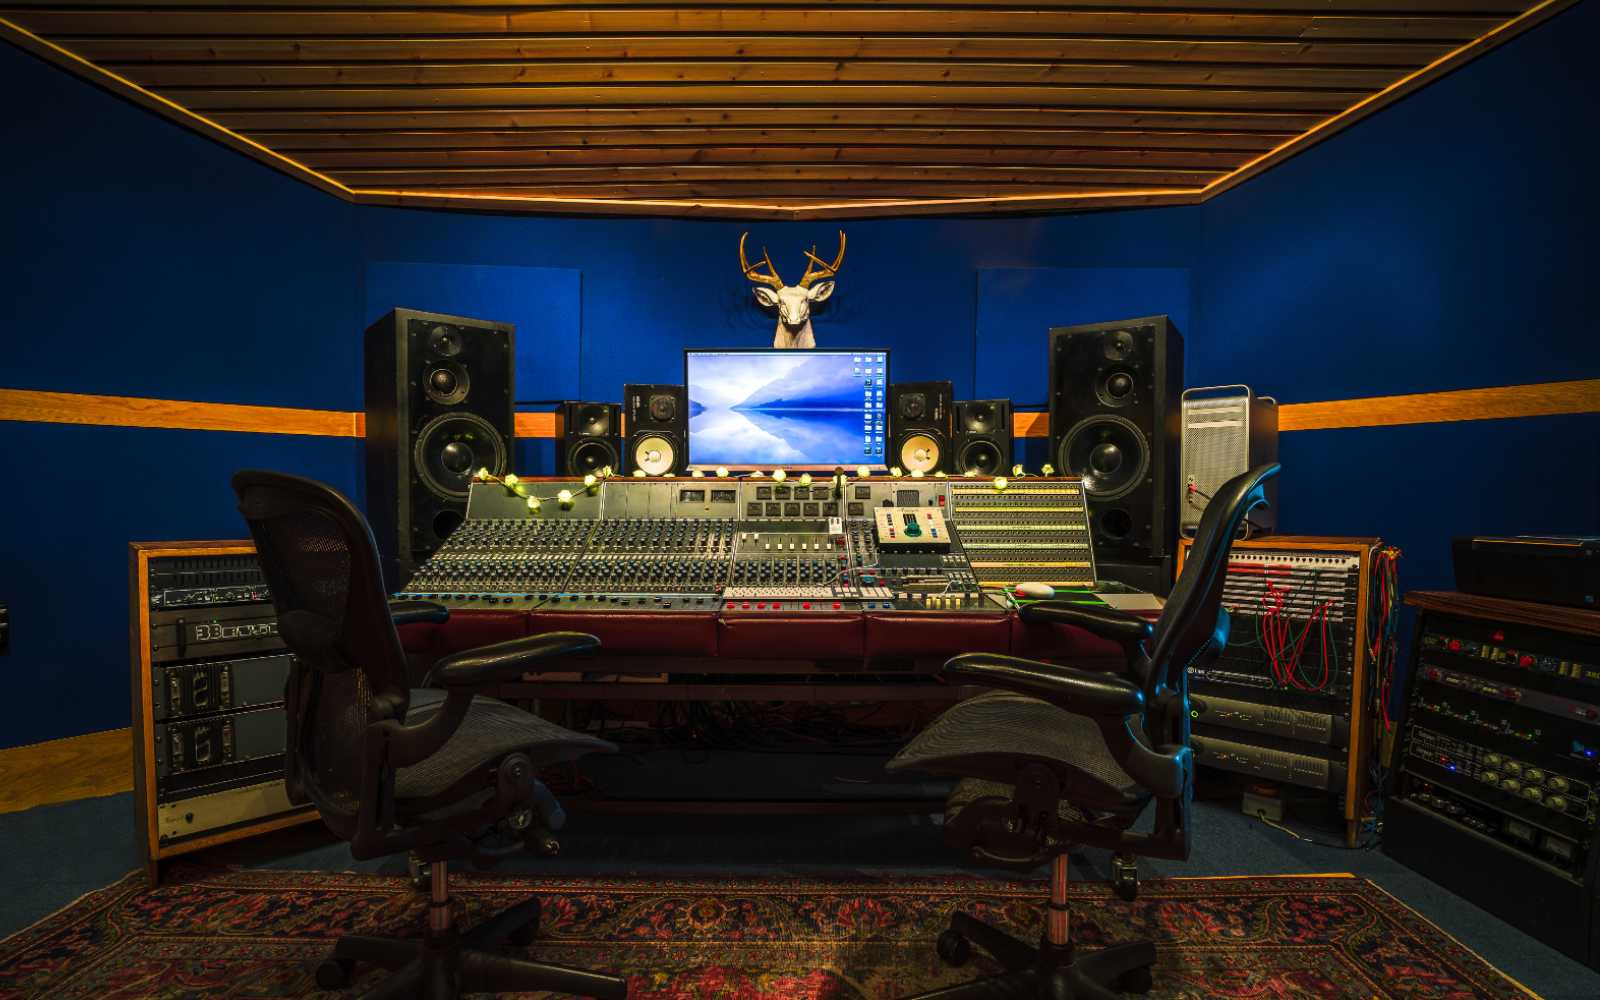
Here’s a really important one to keep in mind: windows, glass and computer screens are generally pretty bad for reflecting acoustic energy. Porous materials like wood and cloth don’t reflect sound as much as glass does, glass being a generally very hard and flat surface. For this reason, windows are generally reasonably not ideal for a recording studio, and here we encounter our second problem: visuals and line-of-sight are incredibly important for musicians, engineers and producers alike. Musicians aside, sunlight is really important for mental health as well as daily focus, so thinking about where your windows are in your space is really important! Even when working in an existing structure as most of us are, the orientation of your mixing and producing space can help here, ensuring there’s no glass behind you, for example, for your speakers to fire into. You may need to compromise, but you can minimise its impact.
Another consideration is your computer screen! A lot of us produce music on a computer that requires a monitor, often being a wide, flat, sometimes glass element placed really close to our ears and bouncing sound right back into our faces. A lot of people choose to place their computer screen between their monitors to remain in the sweet spot, and while this is more ergonomic, it creates some funny reflections around it. Sounds fires out of your speakers, hits the back wall, back to your ears and around the screen, oftentimes shifting and shaping the centre of your stereo image. This can affect the balance of important mix elements like kick, snare, vocal and lead instruments! For this reason, you’ll often see studios with rolling computer stations that allow them to move the computer and screen out of the way, to focus the stereo image while mixing on their console.
Console/outboard gear
While on the subject of mixing consoles, they’re another place where you might have to make a compromise if you choose to work this way. What is a console? Faders, pots and VU meters aside, they’re also a hulk of metal, usually angled for ergonomics, with sometimes hundreds of knobs and controls built from various types of plastics. Mixing consoles are reflection machines, often creating issues in phase, comb filtering and unbalanced diffusion, despite all the ways they help us make music.
Outboard gear is no different, racks made from different woods reflecting sound differently, also angled sometimes for ergonomics and redirecting the soundwaves that are already bouncing around the room.
While the world-class recording studio that we all admire might be filled with racks of gear, those Pultecs, GMLs and Summit EQs are bouncing sound around like there’s no tomorrow! You’ll notice a lot of symmetry in these studios, and while the reflections are generally unavoidable, you can balance them out to ensure your left and right ear are hearing the same thing. I say generally unavoidable because anechoic chambers exist, and some engineers choose to make their mix rooms closer to these!
A small workspace, usually barely big enough for a keyboard and mouse are becoming increasingly common, removing the reflections from a desk, console or studio rack from bouncing up into your ears. Monitor screens can be mounted to walls to help address stereo imaging issues, and equipment like interfaces and converters and outboard can be placed symmetrically for clarity in the left and right.
Sound absorber
Now we’ve acknowledged some necessary evils like computer screens, outboard gear and windows, we can begin to treat our room (not sound proof it). When we play sound out of our speakers, sound (usually) fires at a back wall, and generally bounces back reasonably full range, which is why echoes happen. Echoes are mostly obvious in rooms with parallel surfaces, and while a smaller room mightn’t have as clear a delineation between echoes, this actually creates a larger problem: room nulls and modes.
Sound can bounce around so fast in the room that it can bounce back to your at almost exactly the same time as the direct sound, the ‘almost’ being exactly the problem here. If the direct sound from your speaker and the reflection arrive out of phase with each other, you bet your bottom dollar you’ll lose clarity of that sound, and this doesn’t mean the same across the frequency spectrum. Different frequencies move the air at different speeds (this is called “dispersion”, not to be confused with diffusion) and therefore arrive back at our ears at different times, having different phase relationships with the direct sound.
What we can do is absorb sound before it bounces back to our ears by using absorption. Absorption is generally a few inches thick, different depths absorb sound differently, often seeing them packed into corners to help treat low frequencies that often build up in those areas. If a sound bounces off a wall and around into the room, it makes sense that soundwaves bouncing into corners would bounce into the other corner, again and again, resulting in corners being particularly troublesome, especially where the floor and two walls connect. Absorption can get very involved, admittedly it being almost impossible to fully absorb some frequencies. As a rule of thumb, you need absorption that’s a quarter of the depth of the waveform’s length to fully absorb it. Simple enough, but let’s unpack that:
- Say you’ve got a build up of 100Hz in your mix room. In order to completely absorb it you’ll need an absorber with a depth that’s ¼ of the space it takes for a 100Hz soundwave to do a complete cycle.
- 100Hz needs about 4m to complete a full cycle. That means you’ll need 1m of absorption to successfully absorb 100Hz. Simple, right? But 1m of absorption (ideally all around the room) eats up a lot of real estate and a whole lot of budget really quickly.
- Want to treat 50-60Hz so you can accurately mix a kick drum? 50Hz is 6.8m, so you’ll need 1.7m of absorption, 60Hz requiring 1.3m of absorption.
Tube trap
One great, and increasingly popular, way to treat acoustic sound is with something called a tube trap. These round tubes are meant to isolate plumbing and other pipes, so they’re built from rigid fibreglass (much like is used in acoustic panels). Their round shape works for a few reasons: there’s no flat surfaces, so different sound that hits them passes through and gets kicked around inside the tube until it fizzles out, or the sound hits the outer layer and is bounced off in a combination of dispersion and diffusion. Tube traps are hard to come by in Australia, but a supremely efficient way to treat sound! Producer Eric Valentine has been on a journey to sonic bliss and surprise, surprise, he’s ended up with a LOT of tubes in his new Vermont-based studio:
Say you’ve theoretically absorbed all problematic frequencies, and your room is perfectly balanced. More than likely it’s going to very-dead sounding, which also isn’t good for music making. Live rooms especially require some life and excitement, so you’d be forgiven for not worrying about a super flat-sounding room.
Control rooms, however, built for critical listening while recording, mixing and mastering, benefit from supremely balanced sound while also not being super dead-sounding. This is where diffusion can be the solution.
Sound diffusion
Diffusion refers to breaking up sounds before it starts bouncing around the room. Acoustic energy, like any energy, loses momentum over time, and breaking up soundwaves to send them flying off into different directions can help balance out the sound of your room. The soundwaves won’t bounce back with as much power, having a similar effect to absorption in that the full power of the sound wave won’t bounce back to your ears. For this reason, you’ll often see diffusors mounted to the back wall of studios, ready to diffuse the sound that’s firing out of your speakers.
Diffusors are available (to buy or build yourself) in a few main types, some of the most common being Skyline diffusors (2D diffusors) and QRD diffusors (1D diffusors). 2D refers to the plane that sound is fired off into, i.e. up, down, left and right, while 1D for QRD diffusors fires sounding only left to right, or up and down depending on how you orient them.
Diffusors help to retain the life of the room, maintaining RT60, while not totally deadening a space. RT60 is the time it takes for sound to decay 60dB. A good RT60 is 0.3 seconds across the entire frequency spectrum, meaning there’s some life but no frequencies are ringing out too overtly or obviously. It’s common for lower frequencies to decay longer than mids and highs because they’re generally more powerful!
We hope this has helped you on your journey! If this is the beginning of your acoustic journey, welcome, and there’s a few terms in here to sink your teeth into while thinking about the space you’re working in. It can also be good practice to learn your room, as admittedly there’s no room on earth that’s perfect in every way. Construction, treatment and tuning are about compromise, and as we’ve discussed, some of the comfortable, ergonomic additions to studios are an acoustic nightmare. This isn’t to say you should be uncomfortable while working, quite the opposite, but you should acknowledge the limitations of a space and work within that. Music making has to be enjoyable and comfortable above all, especially for those long days in the recording studio, so maybe a little imperfect acoustic treatment isn’t such a bad endgame!
Acoustics Insider is a great resource for treating your home recording studio. They address myths, misconceptions and advice for great sound!