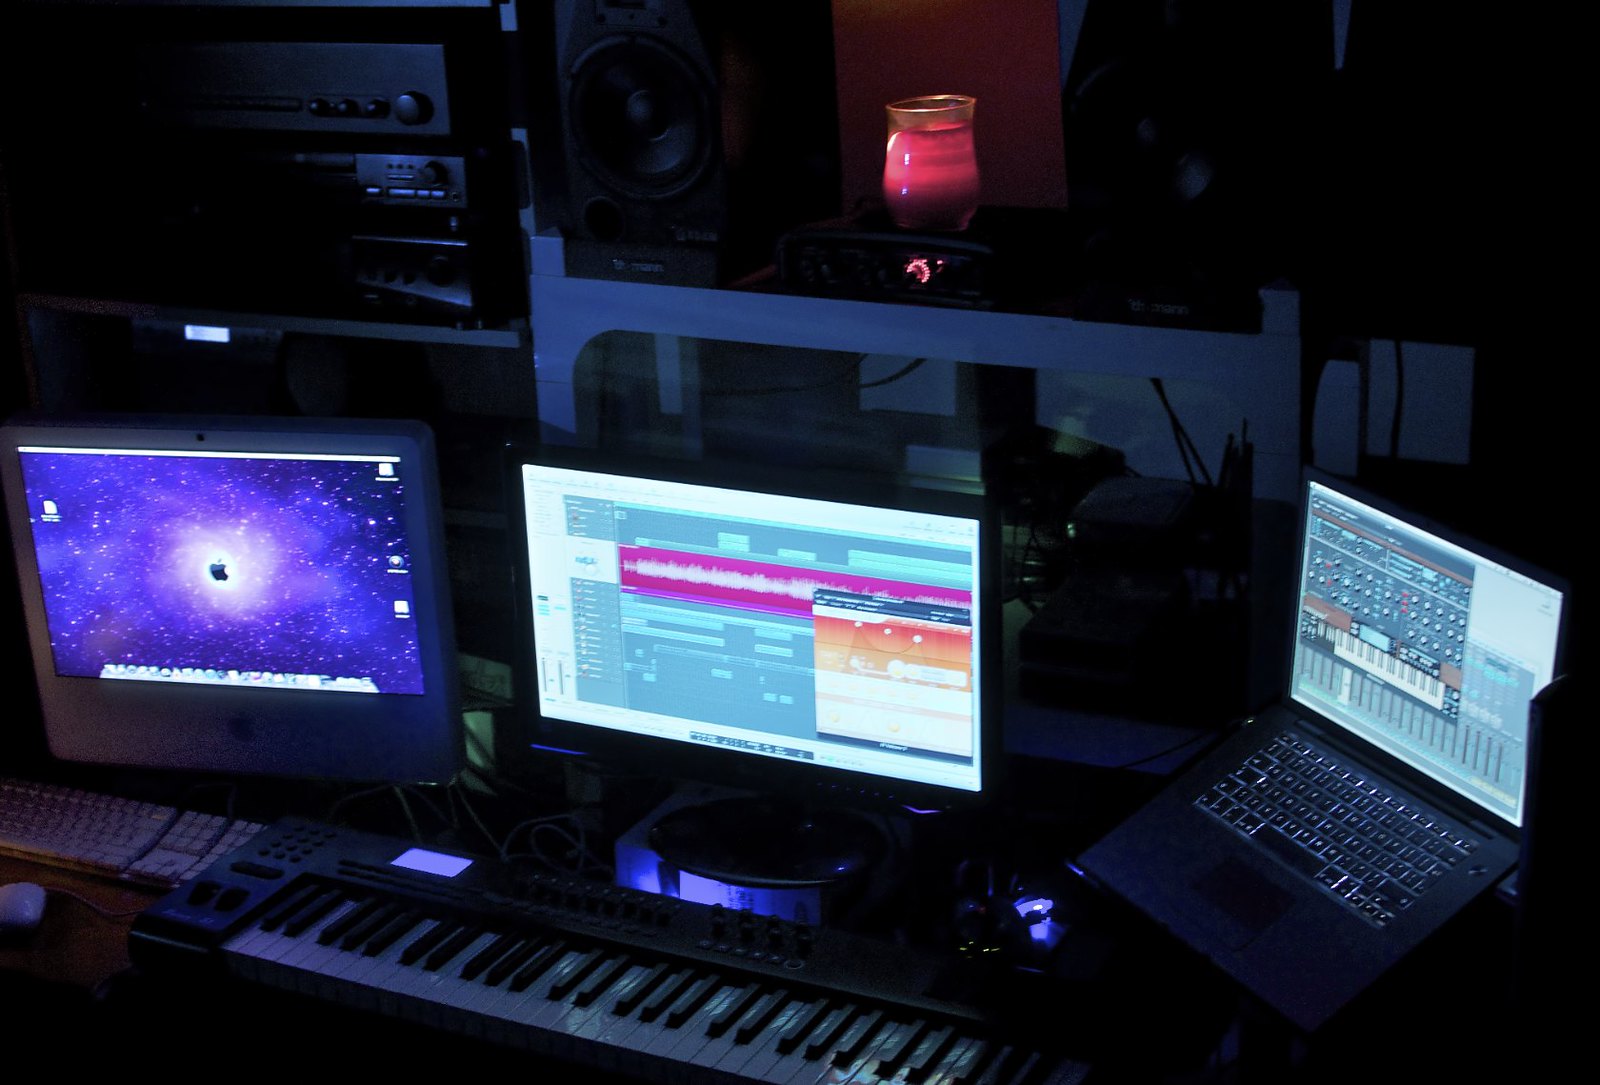
Most music in 2026 is made with a Digital Audio Workstation, or DAW (pronounced "door" or "D.A.W.")
What is a DAW
As its name suggests, a DAW is digital, meaning it uses a computer to do its processing, and serves as your workspace for audio recording, processing, mixing and exporting.
There are plenty to choose from, ranging from free options to professional-grade applications. GarageBand is a solid free starting point for Mac users, while Fender Studio is a browser-based option that requires no download. At the professional end, Pro Tools remains the standard in most commercial studios, Logic Pro is Apple’s full-featured DAW (Mac only) and Ableton Live is widely used for both production and live performance. Cubase, Studio One, Reaper and FL Studio are also popular across various production styles.
Read up on all the latest features and columns here.
Most DAWs are laid out much like a recording and mixing console, with inputs from microphones feeding channels or tracks with spaces for inserts, or effects, before their output. Tracks are laid out with their waveforms visualised, most DAWs letting you switch between a mix window and an edit window. The mix window displays channels, inputs and outputs, while the edit window displays waveforms for you to cut, comp, fade, edit or delete audio.
DAWs like Cubase, Pro Tools and Logic Pro have separate windows for mixing and editing. Reaper keeps everything in a single window, while Ableton Live splits its two core views – Session View for clip-based performance and Arrangement View for linear recording and editing – into separate modes within the same interface. The beauty of DAWs is they’re very customisable, so you can usually adjust settings to your liking.
For this guide, we’ll be assuming you have a computer and audio interface connected to it. Within your DAW, you’ll need to select your audio interface as your playback device – this is called ‘Playback Engine’ in Pro Tools, ‘Input & Output Device’ in Logic Pro and ‘ASIO Driver’ in Cubase.
DAW Input
Beginning with inputs, DAWs are commonly used to interface incoming audio from a microphone, line or instrument with a well-laid out space (the edit window) to organise those recordings. To make a recording you’ll need to have an audio interface or sound card available to plug in your sound source, and you can set the input of a channel in your DAW to the input of your audio interface. The audio track in your DAW will need to be ‘armed’ by pressing the red record button (thankfully everyone seems to conform to a red circle with a smaller circle in the middle as ‘Record’), and the record button should flash, indicating it’s ready to start recording.
DAWs vary in how you start recording, either by ‘arming’ the track and pressing ‘Play’ or simply by pressing the ‘Record’ button again. Some DAWs, like Pro Tools and Logic Pro, have an ‘I’ button that indicates ‘input monitoring’, letting you hear the input of the track without ‘arming’ the track or having to record. This feature comes from tape machines, where you could double check the input of sound without arming the tape machine and risking recording over something. The beauty of DAWs is we all have that ‘undo’ button!
Instrument tracks
DAWs also let you use virtual instruments, or VST3 (Virtual Studio Technology) plug-ins, to create music as opposed to recording live audio. VST3 is the current standard across most DAWs, having largely replaced the older VST2 format. Mac users running Logic Pro will also encounter AU (Audio Units) plug-ins, while Pro Tools uses its own AAX format. For these you’ll need to create a separate kind of track – in most DAWs they’re called MIDI, Instrument or VST tracks, but check with your specific DAW.
DAW Output
Once you have signal coming in – usually you’ll see meters bouncing around – you’ll need to set the track’s output so you can hear it back. Depending on your audio interface, you can set the track’s output to match up with your audio interface’s outputs, or whatever your speakers or headphones are connected to. Most audio interfaces have headphone outputs that mirror the main speaker outputs.
You can ‘pan’ sounds around the stereo field as well, moving them from left to right and anywhere in between. Each of your DAW’s tracks will have a pan pot that lets you do this.
How’d you go? Hearing something? Great!
Latency
If you’re recording for the first time, you might notice a slight delay in the signal you’re recording.
DAWs introduce “latency” as sound is processed through them. Latency is the time your DAW takes to receive input, process it, then play it back to you. Your computer requires a buffer to get all this processing done, and the ‘Buffer Size’ is adjustable.
All DAWs have settings to adjust how fast or slow this round trip is, though the shorter the trip, the more processing power your computer will require. For recording, use the lowest ‘Buffer Size’ possible so you and your artists can hear yourselves without a delay. For mixing, you can give your computer a higher buffer, allowing more time to process audio.
Apple Silicon Macs have significantly changed the latency picture – buffer sizes that would have taxed older Intel machines are now routine. Many modern audio interfaces also offer built-in DSP monitoring, letting you hear yourself in real time with zero DAW latency by bypassing the buffer entirely.
Because there’s usually no recording happening while mixing, and all audio tracks are going through the same latency, buffer size isn’t an issue during that stage.
Note: Bluetooth headphones will cause a significantly delay – go for wired headphones or monitors instead.
Editing
Once audio is recorded, it can be chopped up and moved around. This can be to edit a recorded take, compile (comp) a few takes into one ‘perfect’ take, or arrange different recorded parts into a song.
It’s important to ensure there’s a fade in and out of every track, as a hard cut will be audible and make a ‘click’ or ‘pop’. All DAWs will have an option to make fades, and these can be short utility fades to prevent little pops, or longer creative fades for swells or blended sounds.

Inserts, sends and returns
Right, so you’ve got an edited, recorded take that you’re able to hear back. Now you might want to treat the audio with some EQ, compression or other effects, known in DAWs as plug-ins. Your DAW will come with some built-in plug-ins, and there are also plenty of third-party options available.
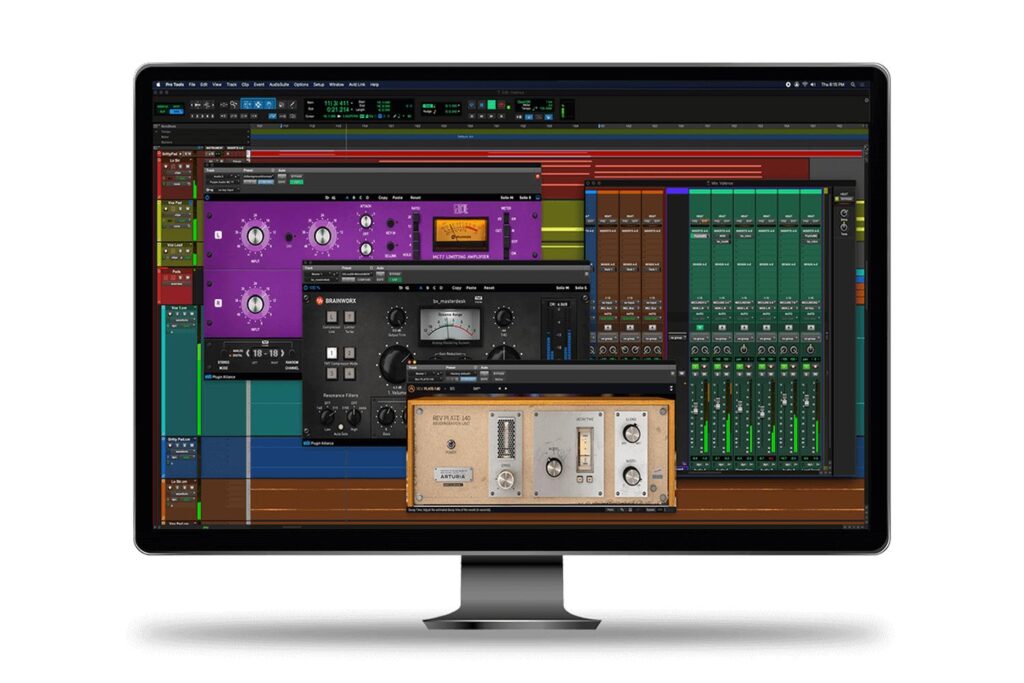
You can add plug-ins onto each track to carve away problem frequencies, add compression and balance, or introduce modulation with chorus and flange, or space and depth with delays and reverbs.
Most DAWs have slots for plug-ins to be ‘inserted’ into the signal chain, and ‘Sends’ for duplicates of the audio to be routed elsewhere for processing in parallel with the unaffected track. You can usually click the slots to open up a menu of available plug-ins.
Effects like EQ, distortion or compression are usually ‘inserted’ onto the track, meaning 100% of the signal passes through the effect.
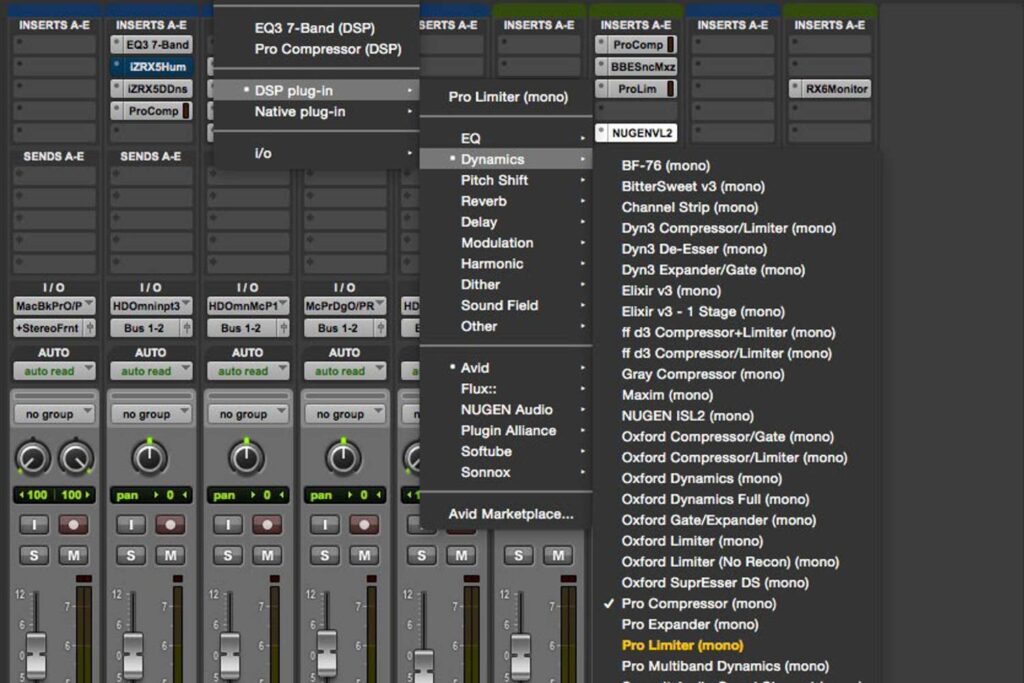
More heavy-duty effects, like modulation or delays, are often sent to auxiliary tracks where multiple tracks can be processed together. For example, if you’ve recorded a kick drum, a snare and a drum room mic, you can insert EQs onto each and treat them differently, but also ‘send’ a split of those signals to an additional ‘auxiliary/aux track’.
This requires some extra routing: you’ll need to ‘send’ signal from your desired track via a ‘Bus’, then create a new auxiliary track and set its input to that same ‘Bus’, as well as sending the auxiliary track’s output to your speakers or headphones.
Sound will then be sent from your audio track to the auxiliary track, and you’ll be able to control how much is being sent. Auxiliary tracks don’t need to be input monitored like audio tracks, so you’ll see signal straight away.
The auxiliary track itself might have a single instance of a reverb plug-in, but both the kick and snare are being ‘sent’ to it, so you’ll hear a reverbed version of both. The beauty of auxiliaries is that you can EQ and compress the reverb without changing the tonality of your original tracks. Set the reverb plug-in to 100% wet and blend the auxiliary track’s volume in with the original audio tracks for subtle (or overt) reverberation.
DAW bouncing, mixdown and your master fader
The final section covers our namesake: mixdown. A ‘mixdown’ is when you take, for example, 12 tracks of recorded drums, two tracks of guitar, a single track of bass and four tracks of vocals and bring them all together.
You might adjust levels, pan, EQ and compression, and add some auxiliary effects before those files and multiple auxiliary tracks are ‘mixed down’ to a single ‘two-track’ – a stereo file. This process is also referred to as ‘summing’, and comes from the analogue world where all your tracks spread out across faders on a mixing console were sent to a master fader before being recorded onto tape.
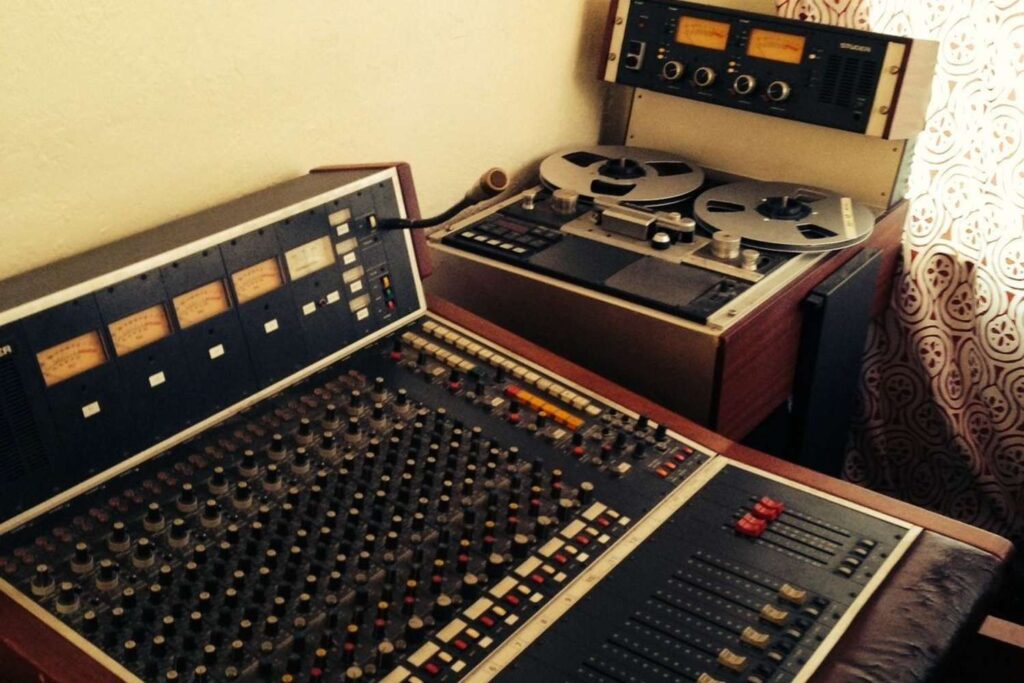
In DAWs, you can ‘bounce’ mixes quite easily, but you’ll need to tell your computer where to listen. If you’ve been listening back from ‘Output 1-2’, set your bounce source to ‘Output 1-2’ so your computer captures what you’ve been hearing. Most DAWs will have a ‘Master Fader’ track with insert slots for adding effects to the whole mix – compression, EQ or limiting (a more extreme version of compression).
Alternatively, you can send all of your tracks to an auxiliary track, set its output to a Bus, and create a new stereo audio track with its input set to that Bus. This lets you ‘print’ your mix by recording it directly to an audio track. It’s a bit more involved, but listening back as you bounce is good practice regardless of method.
Want to take things further? Dolby Atmos for music is now mainstream – Logic Pro has built-in Atmos tools, and spatial mixes can be delivered via Apple Music and Tidal. Check out some Dolby Atmos mixing here.