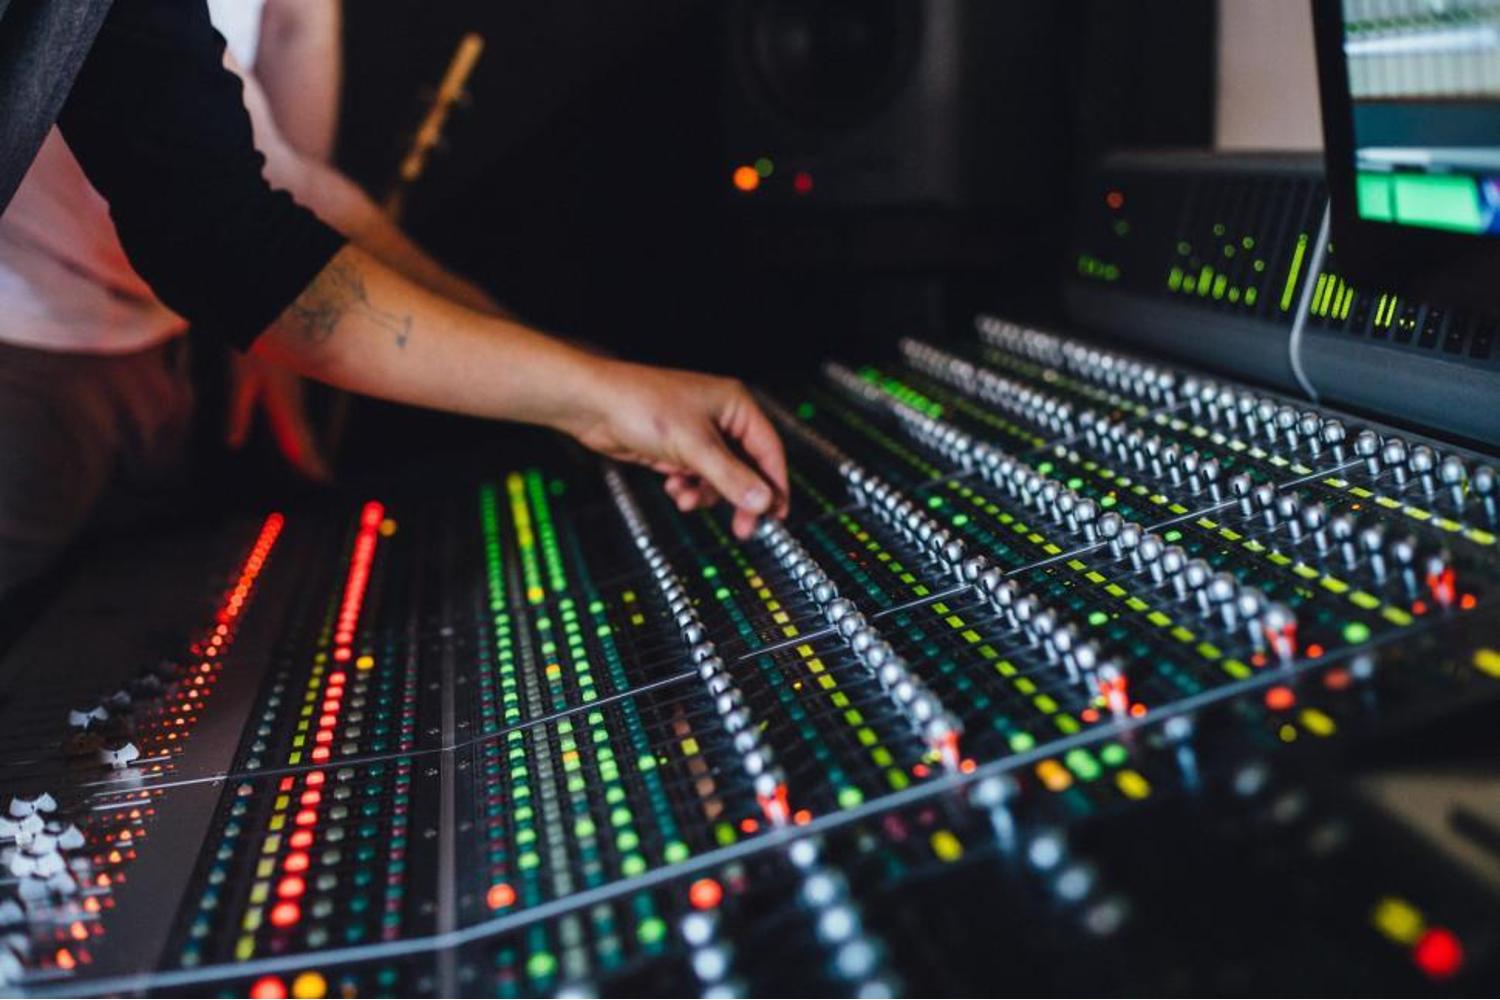
Mixing is a weird combination of objective and subjective decisions.
Ironically, it’s really tough to explain how to mix a song. What we can do, however, is discuss a bunch of principles that will have your music mixing arriving at a much better place every time.
Music mixing and its routing can become endlessly complex, side chains triggering certain effects having their own impact, while pre and post-fader sends can have you soloing and muting tracks to find out where that sound is coming from. This is all good and well with a good foundation, but you’ve got to build that up, as well as ensuring you’re in a good place to make those critical decisions. To do that, you need to be organised!
Read up on all the latest features and columns here.
Templates, routing and editing
While this may seem like an advanced step, the point of this is simple: get rid of anything that will stop you focusing on the task at hand.
Bad edits or rushed comps can nag at your ears and affect how you hear the overall state of a mix’s balance. Make sure all your editing is done, and you can listen through without anything major jumping out at you.
Having a template ready to use is handy as well, as once you get into more in-depth music mixing, you won’t want to be creating sends, assigning inputs and creating auxiliaries and buses to find that sound you’re chasing. Having sends, returns and some simple effects ready can be a huge time saver, while also keeping your ears and mind fresh!
Faders and balance
Mixing is a weird combination of objective and subjective decisions. For example, a snare drum can be objectively too loud or quiet and that applies across just about every genre, but the subjective element comes into play when deciding how bright to make it, how much ring to leave in (or add in), how much smack, attack and distortion to use. The same goes for a vocal and its grit, presence, effects and low-end etc.

For this reason, one of the best places to start a mix is just faders. What this means is, don’t use any EQ, compression or effects until your mix is sounding good by only changing the volume of individual tracks. You’ll be surprised how far you can get without much else, and you’re building a really solid foundation for your mix, as well as slowly revealing any problems areas.
Generally you can start with all tracks at zero, and deciding on an overall balance for a whole instrument (i.e. all the drums, all the guitars), before diving into turning up or down your room mics, a spot mic on the snare, blending bass amplifier mics etc.
Keep this objective! While the kick drum is clicky and in-your-face in metal, that doesn’t mean you need an ignorantly loud kick drum, or overtly present vocal for a pop track, for example. Make this initial balance sound objectively good, and make it feel as cohesive and close to your finished product as possible. While this is a seemingly simple step, it’s the bulk of the work of mixing down the track.
Don’t hesitate to bounce this initial mix and use it as a reference to keep on track. Every step should improve on the last, and you can keep yourself grounded and on track this way!
Gating and subtractive EQ only
Now that you’ve got a balance that’s in the vicinity of your end goal, let’s start clearing some space by taking some stuff away. It’s tempting to start boosting areas with EQ, but it’s good practice to start clearing away information before you add it back.
Good practice is to start with either gating (or cutting) away noise that is a problem, or subtractive EQing. We don’t want to be adding any frequencies here, only taking away noise, mud or problems areas that are masking other instruments. You’ll find that by making subtractive EQ moves, you’ll clear space for other elements of the mix to shine through, similar to if you’d boosted them, but with more headroom!
High-pass filters are a great place to start, especially on everything that won’t sit in the low frequency area. Good practice is to turn up the filter until you start to hear its effect, then adjust to taste. This way you’ll remove any unwanted information without ruining the original sound!
The same goes for gating and cutting away noises. Gates are great for kick drums and snares, while cutting out the noise in between hits on tom drums, or cutting silence in sections where the guitars and bass stop completely can help create space.
While gating is used to make total silence between the gate opening, expansion can be a really transparent way to create space and depth. An expander is similar to a gate, but the noise floor isn’t reduced to silence, and instead just creates a more dynamic, but natural sounding result. Use your ears! Gating can sometimes make sources feel disjointed and foreign, while expansion can treat them enough to clear away mud without ruining the integrity of the initial sound.
At this point you should have a more dynamic, deep version of your initial balance. There should be less noise and mud, and more space for each source to sit in its own space within the stereo field.
Compression as a utility, not a tone-tool
By this point you’ll have a pretty good idea of what sources might need some help to sound stable or static. Dynamic performances might sit well in the balance for most of the song, but not others, and at this point you can use compression to level them out, rather than adding weight, size and presence.
Subtle compression is good here, and if you find you’re needing to do too much compression, clip gain can help here! Cutting and turning up certain sections (as opposed to automation) can be an easier and more transparent sounding solution than compressing or limiting.

Admittedly these next two steps are interchangeable, but it’s good to separate them. You can either move onto additive EQ, compression, effects or add space and depth with reverbs and delays.
Space, time, delay and depth
Adding space and depth doesn’t mean huge walls of modulating reverb! We’re extending the depth and width of our balance with delays and reverb.
Short, slap-back delays can give the impression of a sound popping out in the mix, while dark, spacious reverbs can push something backward physically (by proxy pulling everything else forward).
Short room sounds are great for drums, making everything feel more cohesive and polished and organic, while a medium length reverb (spring works great here for guitars and bass!) can be great to physically place your bass guitar and guitars behind your vocal but in front of your drums. It’s good practice to high-pass these effects as you add them too! For this reason, auxiliary sends are your friend as you have more control.
Additive EQ, compression, saturation and effects
Now that we’ve added some width and depth, we can elevate this further with compression and a little EQ.
A bright source will feel more forward, while dark sources (with their high frequencies rolled off) will feel a little further back. You can brighten a lead vocal, snare or guitar solo to make it feel physically in front of the rest of the band.
Compression can also be used to add depth, using a short release time. The quick release of a compressor makes a sound more present, and can further add to this depth. At this point we can begin adding more heavy handed effects like additive eq, saturation etc. as we’ll have a good foothold on the overall balance of the mix.
This is where music mixing becomes subjective, i.e. bringing out exaggerated snare low end, the ‘click’ of a kick drum, distorting a vocal, scooped guitars, using Haas effect etc. Understanding your initial balance will have much better effect, at this point using effects to augment and elevate rather than ‘fix’!
Master bus compression
This is an interesting one! Generally speaking, a lot of music mixing will have some element of compression or attenuation on the master bus. This can be to make the whole thing fit together better, but tape saturation has the same effect as tape attenuates and ‘glues’ much like a compressor would. Try both, and do whatever the mix is asking for!

Some mixers mix with a ‘top-down’ approach, and start with this step. Try it for yourself on your own music mixing! Knowing that a mix will be compressed and limited at the end anyway often makes people want to mix through the compressor, making decisions along the way informed by that compression helps them achieve their desired results faster.
Finished mixing and ready to master? Read more from Izotope.
