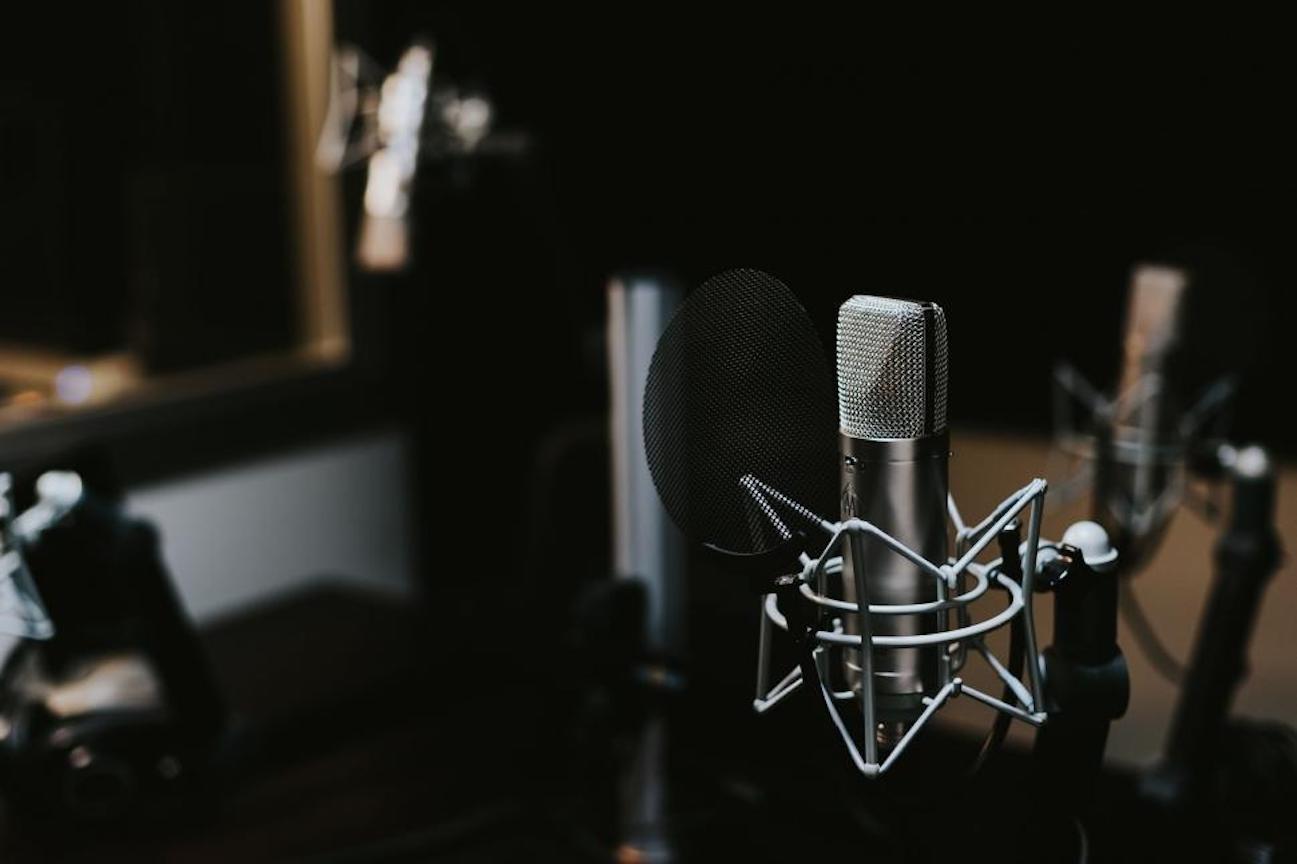
Condenser microphones are a tool that every recording studio engineer needs in their arsenal.
Brighter than dynamic microphones and bolder than ribbons, condenser microphones usually have multiple polar patterns available as well. Thanks to the inbuilt preamplifier, powered by phantom power, the condenser has a huge frequency response, and is particularly dynamic in the top end, making it a great choice for lead vocals, cymbals and overheads, acoustic instruments and rooms.
Catch up on all the latest features and interviews here.
However, the character of a recording is more than the sources the microphones are pointed at. The sound of a drum kit isn’t just the sum of mics pointed directly at snares, toms, and those placed inside kick drums; it’s the space between the drums, the reflections from the ceiling and the rumble of the room. The sound of a big Marshall stack isn’t a single microphone placed an inch from one of the speaker cones. It’s the sum of all four (or eight, or 12…) speakers aimed directly at you, shaking the space. Capturing unique parts of a space or room is child’s play for condenser microphones, with their true-to-source sound. Here’s a handful of ideas for your next session.
Floor microphones
Full disclosure with this one: they’re a tripping hazard! Seriously, some bright tape won’t go astray, and you’ll need it to stop them rolling around. Floor mics are a great way to fill in the gaps between an entire drum kit. Usually with a stereo pair, condenser microphones can be fixed to the floor, usually on a rug, with the capsules aimed directly down. I’ve had good results with a spaced pair, and even better results with that spaced pair taped to the edge of a rug with the capsules hanging off the edge, over wooden floorboards.
While you’d think these would be full tilt low end, thumping and rocking, the reflections from the floor are of a brighter character; splashy, alive, sometimes trashy and great to blend into a handful of source mics. The side address nature of condensers makes them a great option for this, and you can experiment with capsule angle and position, as well as taping them to different surfaces!
Behind guitar cabinets
A similar idea to the floor mics, placing a mic behind a guitar cabinet helps to pick up more of the amplifier’s impact on the room rather than the speaker’s tone itself. The back of the cabinet, both for open-back and closed-back designs, pushes out a lot more low-end than the front of the cabinet, where the speakers are mounted.
Be aware that for some cabinets, there can be a lot of low-end, so this may require quite a bit of EQing to get it right. Tucked in beneath a main guitar track and your guitar sounds will be bolstered, pumping and resonant. This is also a great sound to automate in and out of a mix for bigger guitars!
Keep in mind that as the speakers in front of the amp push out, the opposite will be happening behind the amp, so be sure to check phase as you would a top and bottom mic of a snare drum!
Mono room, trash mic and wurst mic
Speaking of snare drums, they can be one of the most difficult things to get right in a mix. The snare’s tone is so much more than a spot mic, and it’s the sum of the overheads, rooms and more that add crack, depth and body to a snare drum.
Another thing that can work for a snare is some help in the centre of the stereo image, like a mono room or trash mic. A condenser can be great for this for a few reasons. Firstly, the big dynamic range of a condenser captures both low-end body and high-end crack, and secondly, the wide range of frequencies captured by a condenser gives you more freedom to shape and sculpt after the fact.
A mono room mic placed in front of the kick drum can help tie together the kick and snare into one cohesive sound, mixed into the centre of the drums at a low level amongst other drum mics.
Similarly, a trash mic is a great way to tie together spot mics, placed either in front of the kit, between the kick and snare, over the drummer’s shoulder – anywhere, really! Trash mics are generally distorted and heavily compressed, adding depth and heft to a drum sound.
Stereo guitars
A single guitar can feel a little lonely and sparse when panned stereo or left in the centre of a mix, and a condenser microphone can help! Quite often, when recording acoustic guitar, I’ll leave an extra condenser in the corner of the room, away from the player, to capture the sound of the room. This is a great tool to pan to the opposite side of the main mic/s, giving the guitar stereo width. Better yet, a pair of stereo room mics can give a mono guitar a sense of space, making for a more cohesive and ‘finished’ sounding recording.
Bottom miking toms
Finally, and something used extensively in days gone by, condenser microphones are a great way to add body and punch to your toms by miking the bottom skin of the tom. The drum strikes the top skin, giving it attack, while the tone resonates through the body of the tom and adds musicality, definition and heft, especially on a big, deep floor tom!
Condenser microphones are a great choice as their SPL isn’t as high as the top skin, and the mic will capture a wider range of sound that, again, you can treat further in the mix.