How to improve your DAW's handling of signal flow, latency, and overall CPU load
DAW workflow was covered recently in a previous post, but here we focus specifically on resource economics. One of the most common issues encountered in modern DAW-based production is the overloading of system resources. When we examine this problem more closely, taking the legacy of audio software into account, there are a few key factors that resurface regardless of the era.
Despite the incredible solutions currently available such as Apple silicon or Intel Alder Lake processors, along with external DSP systems like UAD, these simply don’t fit into everyone’s budget – especially from the get-go. On top of that, inexperienced users still run into the same obstacles through incorrect CPU management within their DAW projects, even on high-end systems. To avoid making these mistakes, let’s look at a few techniques to improve your DAW’s handling of signal flow, latency, and CPU load overall, regardless of the system you’re running.
Summary:
- A few techniques to improve your DAW’s handling of signal flow, latency, and CPU load overall, regardless of the system you’re running.
- Tracking vocals and instruments requires as low latency as your system can produce and this means increased CPU load.
- Ensure that your system has the processing required for working with channel groups during mixdown and your master output during mastering.
Read all the latest features, columns and more here.
Why do you need to work economically?
Latency: Not only recording latency, but also playback is affected by the CPU load and RAM allocation within the project. This becomes particularly important when using resource-intensive instruments like Spectrasonics Omnisphere 2 during tracking or mixing, especially should there be multiple instances.
Collaboration: Everyone uses a DAW differently and prefers software plugins specific to their own process. When working creatively with other artists or a mix engineer, chances are that even if you are running the same DAW, the plugin libraries will not be an identical match.
Progress: Once instrument tracks or channel strips are bounced to audio, not only do they use a fraction of your system resources but the process becomes a part of your creative workflow. Even if you save your project before doing so, bouncing to audio is a step that commits you to a particular direction with fewer infinitives on the board.
Bouncing Tracks to Audio
If this isn’t part of your arrangement workflow, it can be quite a task on larger projects. Depending on your process, not every project can simply be batch exported to audio. Your mix engineer or collaborators usually require a rough stereo mix and then each channel will need to be bounced individually in some cases. Plugins that won’t require automation later, such as drums, can be bounced whilst inline effects and any bus processors will need to be bypassed in cases where you want to allow flexibility. If a large component of a signal is contained within its parallel effects, simply bounce these effects returns separately to ensure the sound maintains integrity or becomes a reference point to work from in the future. Once you’ve completed this process a few times, it becomes easier to incorporate it at any stage in your workflow to free up resources.
Using Parallel Effects
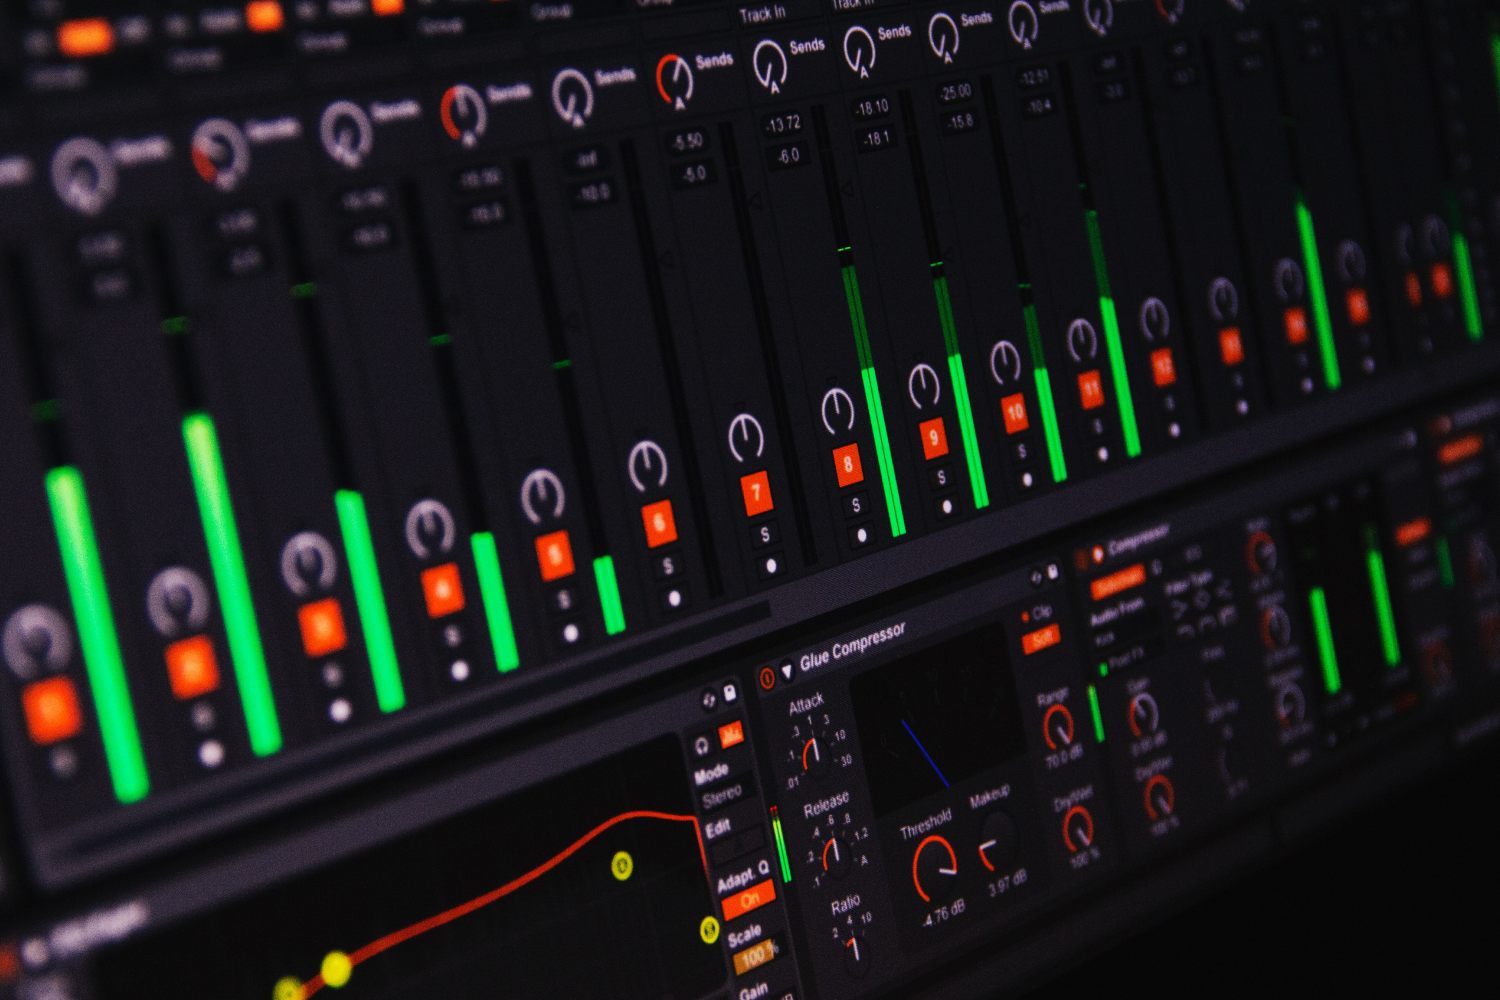
One of the key areas of resource economic production or DAW workflow management is parallel effects processing. However, unless this is done strategically with a particular grouping of instruments or a range of frequencies in mind, it can actually increase CPU load and complicate your workflow. The most common application of effects returns is on individual drum or vocal channels for reverb. This allows you to isolate the processing on a particular group of channels with EQ and compression, while the sends on each channel give you a precise degree of control over how much wet signal you want to work with. Grouping your channels according to their characteristics and where you want to place them in the mix can also be effective. So signals with a particular transient response pattern can be processed together to create uniformity and consistency – another creative process to use at any stage.
Software Monitoring
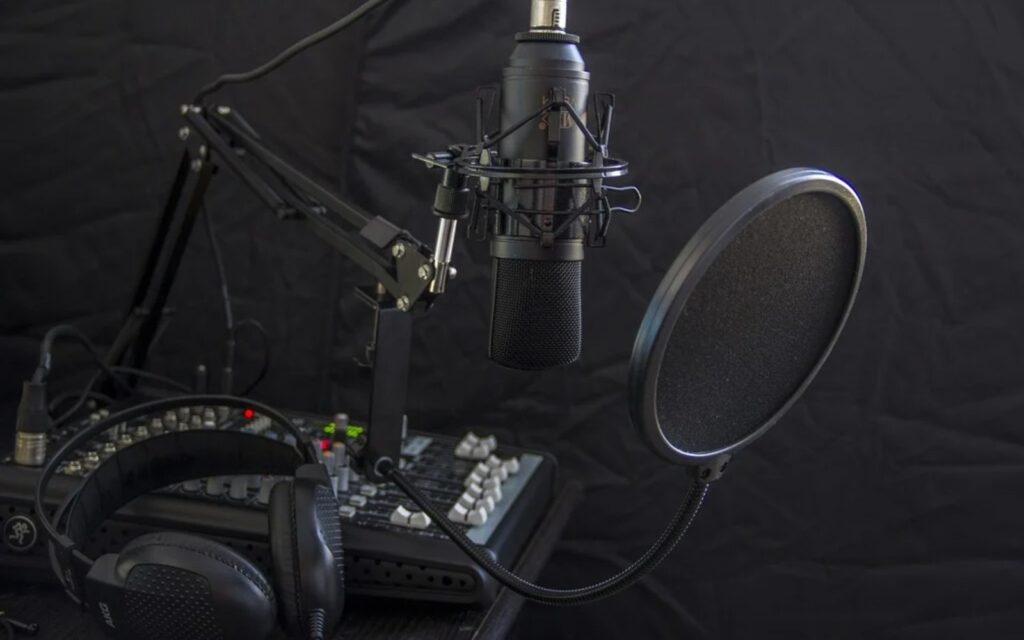
Tracking vocals and instruments requires as low latency as your system can produce and this means increased CPU load. At this point, if you haven’t managed your project economically, this can become an obstacle barring your creative process. Some DAW systems like Logic Pro X have a specific low latency mode for this purpose and you can also decrease your buffer size for higher accuracy monitoring. When using inline processing like compression or parallel effects like reverb, ensure you aren’t using your most CPU-intensive plugins during tracking. If you don’t have outboard compression in your chain, the native DAW compressor plugin is ideal, and reverbs like the Soundtoys Little Plate are resource-friendly, great-sounding, and effective during vocal tracking for distinguishing between live and recorded channels. Generally you want to keep processing to a minimum, so keep this in mind when you’re recording one or more sources.
Mixdown & Mastering
This is usually the point where your CPU load is heaviest, so if you’re mixing down your own projects or those of another artist, there are some methods of managing your resources for the best results. Grouping your channel output assignments to busses not only simplifies your workflow, but also frees up CPU. Once you’ve bounced your tracks individually with their basic EQ and compression settings, it can be more effective to apply any additional FX processing to the aux bus rather than each separate track. This process can help isolate the different aspects of your mix and create mix pockets, where everything has its own breathing room. If you want to get more creative, using sends of your aux tracks (busses on your busses) is also effective. Overall, ensure that your system has the processing required for working with channel groups during mixdown and your master output during mastering.
File Allocation
Keep in mind that every time you bounce out an audio file, it requires more space on your hard drive. As your project reaches completion, these files will grow in length and therefore, size too. Ensure you develop a system for removing and replacing old files to optimise the HD space requirements for each of your projects. Naming your files in detail always helps and remember to save an alternate version of your project before you begin bouncing tracks to audio, especially for those who like to refer to this as a destructive editing process.
Read more columns to improve your production here.


