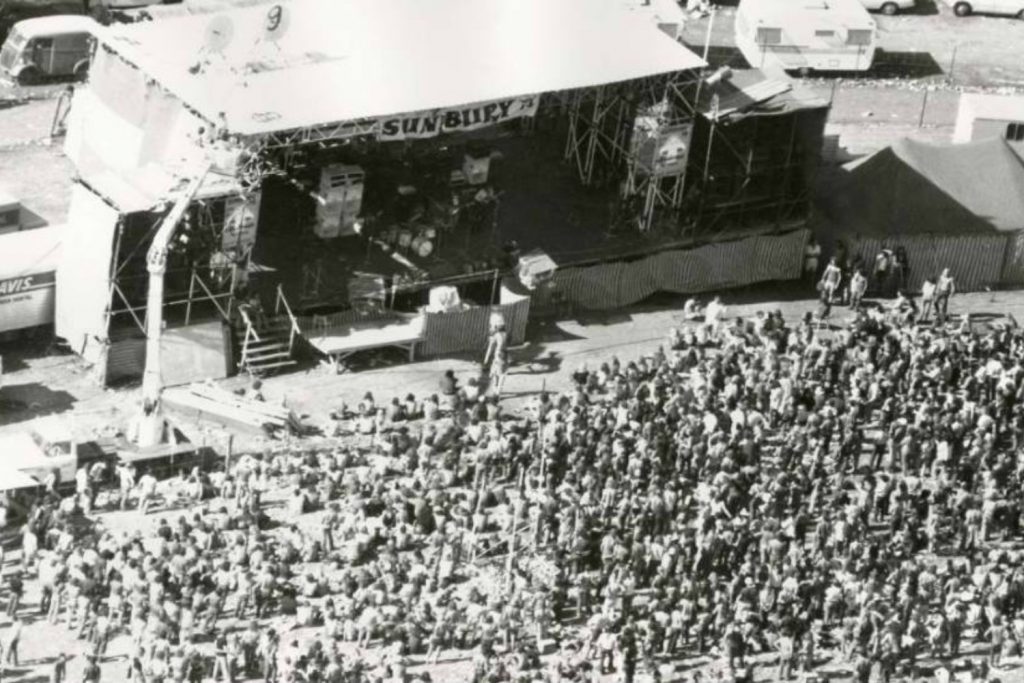
EXPERIMENTAL CHAOS
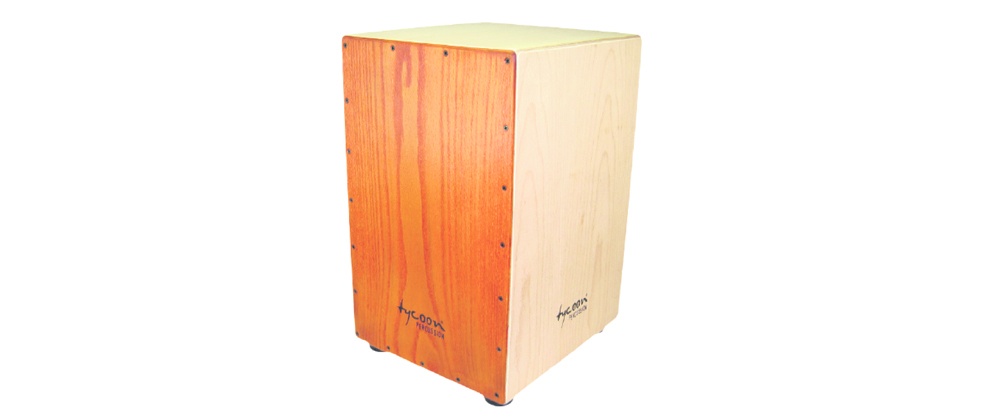
First of all, let me point out that I am by no means someone who fits into the aforementioned group of ‘skilled cajon players’, but that didn’t stop me from seeing what I could get out of this instrument in a recording session. Having some sense of rhythm and a vague idea of what I like to hear, I found myself experimenting in a number of ways with the cajon in my humble home studio. So, let’s first consider that my technique is not the greatest and that may well be the case for many of you who are considering getting some beats tapped out at home. If you are like me, an unskilled player, try a few things out and see how the cajon behaves on all surfaces and at different points with a different touch. Experiment with the tones to begin with, it may start out sounding like a bit of a mess, but you’ll quickly find a groove that works with the music you’re recording. It’s really quite addictive, and you’ll soon find yourself getting carried away and off track a little. So, let’s get back to the reason we are here and consider how to record this unique instrument.
LOCATION, LOCATION, LOCATION
It is all about finding the right location for you microphones. Firstly, I found setting up on carpet or a rug delivered a better result than working on a hard floor. It calms the environmental reflections and gets you a drier recording. You can always add some reverb in later if you want it. So, set up in a carpeted room, I went about placing microphones all around to see what came good onto disc. The first microphone was a Sennheiser e602, usually used for kick drums, which I placed at the port of the cajon. The was quickly adjusted to be slightly off to the side of the port and angled in at about 45 degree to reduce the ‘chuffing’ sound that I got when I worked straight on and up close. This will vary from one cajon to another as the ports will behave differently, but it pays off to belt out some deep hits and quickly record them with the microphone in a few different locations and angles. I use some gaffer tape on the floor to mark out these locations and then listen back to them all. It’s easy to the place the microphone in that sweet spot from then on out.
With the low end sorted out, I wanted to get some real sizzle from the sides of the cajon and also try to pick up some of that snare sound too. The difficult part about doing this is you need to consider how you will be straddling the instrument and where you limbs are likely to flail about when playing it. This, unfortunately, rules out some really great microphone positions when it comes to getting in close. So, I opted for a large diaphragm condenser microphone placed a little further back to give me the room to move and still capture the sizzle on the cajon’s surfaces. An SE Electronics X1 was employed, a much underrated microphone indeed and the results with a little adjusting were great.
Finally, I couldn’t help but slide an SM57 in as low as I could on a short boom stand pointing up and along the front face of the cajon. This sat neatly between my legs and didn’t get in the way at all. What the old classic Shure microphone offered was a third flavour to the various tones you get with these boxes and it sat quite well between the other two mics in the mix. With these three microphones to choose from in the final sound, I was able to get all the colour I wanted and plenty of dynamic range too. This did not make up for my poor timing and so some serious editing was required later on to help it fit with the other parts in the recording, but we needn’t discuss that now.